Expeditions, war stories & culture

War stories, articles & game guides

Gamer

Tribute

2026

Expeditions,

War Stories &

Culture

Contents

Zul'Drak WotLK Classic Lore Guide: Quests & Easter Eggs | Vikstone's Chronicles

Zul’Drak’s hidden lore, Easter eggs, and pop-culture references, plus the storyline threads tying the Drakkari Empire, the troll gods, and the death of the Loa back to Warcraft III and forward through Cataclysm and beyond. Told through Vikstone’s War Journal and original 2008-2009 screenshots from the dying empire of the ice trolls. 

Zul’Drak Museum

Vikstone’s Chronicles · Northrend Lore Series


Zul’Drak was where Vikstone watched a civilization choose its own extinction.

The Drakkari Empire had stood for millennia, their ziggurats rising from the frozen plateaus as monuments to troll gods who answered prayers with power. But the Scourge came, and the Drakkari responded with a strategy no other race had attempted: they began killing their own Loa, draining the animal gods of their essence to fuel a desperate war.

At each shrine, Vikstone arrived too late. Har’koa, Rhunok, Quetz’lun, Mam’toth. One by one, the gods fell to their own worshippers.

And then there was Drakuru. The troll Vikstone had trusted since Grizzly Hills finally revealed his true allegiance at Voltarus, standing beside the Lich King as a favored servant.


What follows is Zul’Drak as Vikstone found it in 2008, its buried secrets, the fate of every Loa the Drakkari turned against, and the war as he recorded it, quest by quest.

Vikstone Portrait Act 2
Illustrated by Christian DiBari and Simon Gough.
Zul'Drak quest ledger preview

Vikstone's Chronicles

Zul'Drak: Gods and Verdicts

The Drakkari tried to save their empire by turning worship into fuel.

Select a loa to open the ledger

VI
The central bargain
A civilization chooses its own extinction
The threat

The Scourge presses from the north while the Argent Crusade holds a fragile line to the south. The Drakkari face annihilation and reject surrender.

The choice

Instead of asking their loa for aid, the empire subdues, kills, and drains them.

The verdict

The stolen power prolongs resistance and destroys the civilization it was meant to save. Gundrak becomes proof.

S
Serpent loa
Sseratus
The Drakkari act

Sseratus is already dead when the campaign reaches his altar. His own high prophet, Slad'ran, took no pleasure in killing his god, and did it all the same.

The loa's answer

There is no answer. The first shrine teaches that a god can simply be removed from the world, and the killer walks away with the same powers.

What remains

Slad'ran, transformed half-serpent by the stolen essence, swears vengeance on the Scourge for what they "made" him do. He waits as the first boss of Gundrak.

From the War JournalTrouble at the Altar of Sseratus

R
Arctic bear loa
Rhunok
The Drakkari act

Rhunok's twisted followers keep his physical form alive as a reservoir, leaving his spirit trapped inside it, tormented and only able to watch.

The loa's answer

Rhunok turns to a passing adventurer instead of his own people. Ending his suffering denies the Drakkari the power of his death, a theft prevented by mercy.

What remains

His spirit sends one message back to Har'koa: "No matter what, we are eternal." She answers that he will return. The bear god's altar remains in the zone.

From the War JournalMy Prophet, My Enemy → An End to the Suffering

H
Snow leopard loa
Har'koa
The Drakkari act

The empire hunts its own pantheon around her while Har'koa endures at her altar above Zim'Torga, grieving.

The loa's answer

She becomes the campaign's guide, sending Vikstone from altar to altar to witness what happened to Rhunok, Quetz'lun, and Akali.

What remains

Har'koa survives as the zone's rare victory. Her mate, Loque'nahak, still roams Sholazar Basin, carrying the story beyond Zul'Drak.

Q
Wind serpent loa
Quetz'lun: a private underworld
The Drakkari act

Her own prophet destroys her mortal form, expecting the wind serpent's power to become another weapon for the empire.

The loa's answer

With the last of her power, Quetz'lun tears open a death-realm of her own making and drags her betrayers into it. Even murdered, she retains the power to judge.

What remains

Vikstone enters her spectral realm and helps deliver the prophet she could not reach. Betrayal becomes an eternal sentence rather than a completed crime.

M
Mammoth loa
Mam'toth
The Drakkari act

The Drakkari come to take Mam'toth's essence as they took the others.

The loa's answer

He destroys himself, his temple, and the followers present rather than allow his power to be stolen. The explosion leaves a crater where his altar stood.

What remains

His blood still moves in the wound he left behind, and the prophet Moorabi drinks from it anyway.

From the War JournalBlood of a Dead God

A
Rhino loa
Akali: the last god
The Drakkari act

The prophets hold Akali, the last of the great Drakkari loa, at Gundrak, the heart of the empire, as their final reserve of divine power.

The loa's answer

Rescue comes too late. Before Akali can be freed, his own prophet drinks his blood and usurps the rhino god's power for himself.

What remains

Gal'darah assumes Akali's aspect inside Gundrak, transforming mid-fight into the god he murdered. The dungeon is the next step.

Beyond the altars, the empire's final campaign

Zandalari WitnessRecord what cannot be saved
Argent CordonHold the middle tier one more day
VoltarusExpose Drakuru from inside the Scourge
GundrakFace the god-killers: Slad'ran, Moorabi, Gal'darah

Vikstone, night elf warrior of US-TerokkarVikstone's field read: when a civilization sacrifices the sacred to survive, survival itself becomes meaningless.

Betrayed Gods and Hidden Rewards


Zul’Drak’s Loa shrines tell individual stories of godhood under siege.

At the Altar of Quetz’lun, players glimpse something rare in WoW: a deity’s private afterlife. The wind serpent Loa’s fate plays out in a questline that goes beyond the simple “god dies, move on” structure that defines most of the zone. There’s betrayal within betrayal here.

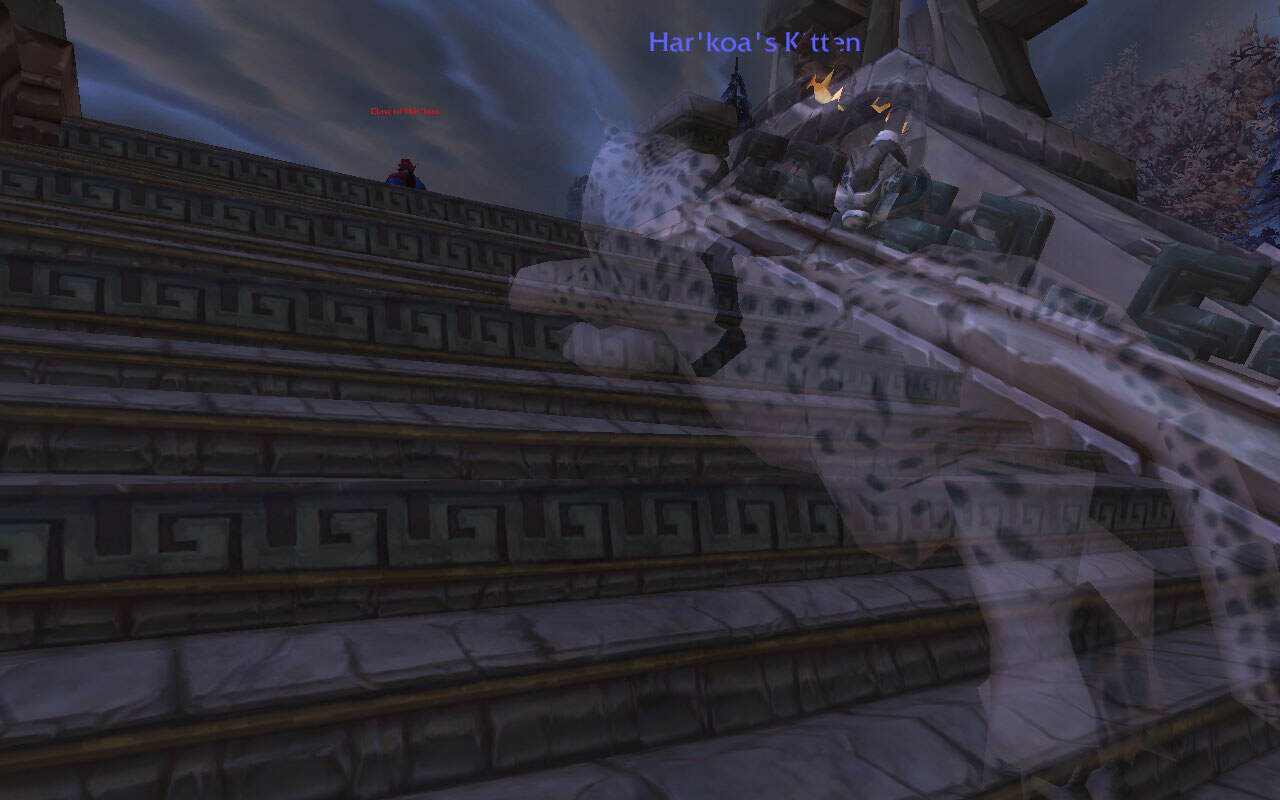
Har’koa survives. Among all the Loa the Drakkari sacrifice, the snow leopard goddess endures, making her one of Zul’Drak’s few genuine victories.

And for players who complete the Troll Patrol daily quest series, Blizzard hid a reward most never see. The Congratulations! achievement isn’t just a title. It’s one of Wrath’s early experiments with repeatable content gating a hidden payoff, a design philosophy that would define later expansions.


Altar of Quetz’lun: The Loa’s Private Afterlife

Altar of Quetz’lun: The Loa’s Private Afterlife


Where: (75.4, 58.6), southeast Zul’Drak, on the terrace above the river.

When the Drakkari turned on their own gods to steal power against the Scourge, Quetz’lun (wind serpent loa) answered. As her prophet helped destroy her mortal form, Quetz’lun tore open a personal death-realm and dragged her wayward faithful into it to judge and torment the oathbreakers herself. 

Her own words: “In the throes of my death, I cursed them all and dragged them along with me into this special underworld of my own creation.”

She savors it for exactly one sentence before getting to the point: “I think that I shall delight in their eternal torment, but what I really want is to exact revenge upon my former prophet!”

The prophet himself, however, couldn’t be pulled in, which is precisely why you’re here.

In Seek the Wind Serpent Goddess, crossing the threshold flips you into Quetz’lun’s realm: you gain a Ghostly state (desaturated, deathlike filter, the same visual transformation as actual death), interact with soul fonts, and walk among spectral trolls and revenants. 

Follow-ups like Setting the Stage, Foundation for Revenge, and Hell Hath a Fury have you weaken, mark, and execute the prophet’s collaborators at the loa’s command. The finale, You Reap What You Sow, lets Quetz’lun reclaim her stolen power and drag the prophet into eternal torment: “I’ll see to it that my prophet enjoys his eternal stay with me.”


Hell Hath a Fury

Hell Hath a Fury


Design & enemies:

  • Scion of Quetz’lun (wind serpents) and Altar Warden (air revenants) patrol the temple even when you’re not phased. The Scions sport a white skin unique among all wind serpents in the game.
  • The soul-font interactions teach the rules of the afterlife space (what you can hit, who can hit you) without a tutorial box.


Quetz’lun’s vengeance is one example of a pattern across Zul’Drak and beyond: betray a loa, and the loa finds a way to answer. Across Zul’Drak, the Drakkari butcher their gods for power (Mam’toth destroyed himself rather than be drained). Later expansions echo the cautionary tale: in the Cataclysm-era Zul’Gurub revamp, players free a chained Hakkar specifically so the Blood God can kill Jin’do the Godbreaker.

In Battle for Azeroth, the connection becomes explicit. Zul and his rebels attempt against Zandalar’s loa exactly what the Drakkari did to theirs, and Rezan, the Loa of Kings, pays the price, slain in the confrontation and raised as an undead servant by Zul’s power.

Betray a loa, pay the loa.


You Reap What You Sow

You Reap What You Sow


Zandalari response: The expedition answered to Witch Doctor Khufu, but among its ranks stood a Zanchuli Council prophet named Zul. Canon is blunt about what he took from the posting: having watched the Drakkari sacrifice their loa for power, Zul later sought to do the same to the loa of Zandalar. What the Zandalari came to chronicle, their own prophet carried home as a blueprint. Their presence frames the altar as a living record: a place where faith, sacrilege, and consequence sit in layers.

After Wrath: Exploring Azeroth: Northrend notes the altar remains intact, with lingering wind serpents, a reliquary of Drakkari faith and failure that outlasted the war. Muradin Bronzebeard’s assessment amounts to a dare: the Drakkari artifacts are still in there, if you can get past the wind serpents.

Easter egg for scholars: Quetz’lun’s name derives from Quetzalcoatl, the Aztec feathered-serpent god of the sky and wind, fitting for a deity whose worshippers now float in a private underworld. The terrace later serves as a troll Archaeology dig site, on-brand for a terrace that’s already layered with Drakkari sacrilege.


Altar of Har’koa: The Snow Leopard Who Lived


Where: (63.7, 70.4), northeast of Kolramas

Who Har’koa is: Loa of the snow leopards, mate to the spirit beast Loque’nahak in Sholazar Basin. She is the sole Drakkari loa to survive her people’s god-slaughter.

Bound, not butchered: Unlike the other altars, Har’koa’s prophet isn’t an executioner. The Drakkari still subdue and bind the goddess and curse her cubs, but her prophet held her captive rather than kill her, still coming to her temple as if some part of him remembered what worship was.

A rare note of uneasy devotion amid Zul’Drak’s atrocity, and she never marks him for death the way Quetz’lun marks hers.


Convocation at Zol'Heb

Convocation at Zol’Heb


What you do here (quest arc):

  1. To Speak With Har’koa → But First My Offspring: Har’koa hands you one of her own whiskers and asks the unthinkable: slay her tortured children, then use the whisker on their corpses to break the curse and bring them back clean. Death first, then mercy.
  2. From here, Har’koa sends you to help other loa: first, Rhunok (the bear, whose prophet did try to drain him), then Quetz’lun (wind serpent), and finally Akali (rhino).
  3. Preparations for the Underworld: Collect Sacred Adornments from Har’koa’s subduers. Har’koa breathes on you, granting The Breath of Har’koa (a brief ~10s aura), which flags you to pierce the veil at Quetz’lun’s altar.
  4. Convocation at Zol’Heb: The finale. Har’koa personally appears to confront the Prophet of Akali, screaming “YOU KEEP YOUR FILTHY DRAKKARI HANDS OFF OF THEM!” and breaking his immunity so you can finish him.


Underworld crossover: That brief Breath is your ticket into Quetz’lun’s death-realm, one of Wrath’s most memorable “spirit world” set-pieces.


Cross-tribal council: Before you reach Har’koa, four Amani loa (Halazzi the lynx, Jan’alai, Akil’zon, Nalorakk) manifest at Zim’Torga and direct you to her: Jan’alai speaks first: “The spotted one must be sought. Their fates are entwined.”

Akil’zon: “But she is chained. A way must be found to free her.”

Halazzi: “To her altar this mortal must travel. What they must do will not be easy. In the end it may prove impossible.”

And Nalorakk closes with the epitaph for the whole zone: “The Drakkari will be the death of both themselves and their gods!”

The Amani gods helping a Drakkari goddess is a rare moment of pan-troll solidarity.


Zandalari frame: Just west at Zim’Torga, the neutral Zandalari (led by Witch Doctor Khufu) record the collapse rather than prevent it. Their blessing shrines, Zim’Rhuk, Zim’Abwa, Zim’Torga, tie player buffs to troll faith while serving as traveling commentary on Drakkari hubris.

Feline constellation: Har’koa sits alongside Bethekk (panther, Gurubashi/Zandalari) and Halazzi (Amani lynx): same wild family, different tribal mirrors of home terrain and temperament.


Aftershocks & hunter lore: Exploring Azeroth: Northrend (page 55) confirms she remains the lone survivor of the Drakkari’s slaughter of their own gods. The brothers Bronzebeard also glimpsed Loque’nahak near Skyreach Pillar in Sholazar, and he slipped back into the undergrowth before either could get close.

Har’koa’s story preserves a sliver of piety and restraint. She survives and then helps end the worst of it (including the showdown against Akali’s prophet). Faith bent but not broken.

“Congratulations!” Hidden Reward for Troll Patrol!


Complete all four Troll Patrol daily segments and turn them in within 20 minutes of accepting the first one. If you still have the “On Patrol” buff when you return to Commander Kunz at the Argent Stand (40, 67), you automatically receive Congratulations! — and you must turn that in before the buff expires, too.


Troll Patrol The Alchemist's Apprentice

Troll Patrol: The Alchemist’s Apprentice


This bonus quest awards 650 extra Argent Crusade reputation and a Patroller’s Pack containing one of five items:

  1. Scruffy Toe Lint (40%)
  2. Stylish Toe Ring (21%)
  3. Distinctive Feathers (20%)
  4. Slimming Ankle Bracelet (9%)
  5. Deputy Pa’trolla Badge (0.2%)


That trinket (epic quality, item level 35) does one thing: “Equip: Everyone sees just how awesome you are.” Flavor text: “A valuable member of the Pa’Troll!” It provides no stats, no procs, no on-use effect. It exists purely to prove you beat the clock hundreds of times.

Why players miss it: Commander Kunz’s quest text hints at speed rewards (“you’ll be more richly rewarded for returning to me quickly — so double-time it!”). But the 20-minute timer appears only as a buff, and most players don’t realize the bonus quest exists until they accidentally finish fast enough. The badge’s 0.2% drop rate means even dedicated farmers might run the patrol for years before seeing it.

The Pa’Troll pun: The naming carries through to the badge, which certifies you as a “valuable member” of the Argent Crusade’s unlikely wordplay division.

Optimization note: The four posts are Captain Brandon (Drak’Sotra), Captain Rupert (Drak’Sotra), Captain Grondel (Drak’Agal), and Alchemist Finklestein (Heb’valok). The Alchemist’s memory game task is the most variable. Experienced patrol runners often start there to front-load the risk.

The Loa Who Loved and the God Who Refused


Har’koa’s story doesn’t end in Zul’Drak. Across the mountains in Sholazar Basin, a rare spirit beast named Loque’nahak prowls the jungle, one of the most coveted hunter pets in Wrath. The connection between them is subtle but present in the lore: two snow leopard spirits, separated by geography but linked by something deeper. 

And at the Altar of Mam’toth, Zul’Drak delivers its most tragic moment. When the Drakkari came to drain his power, the mammoth Loa chose a third option. Rather than fight and lose or submit and be corrupted, Mam’toth destroyed himself.

The crater where his altar once stood is all that remains, a monument to the only god who refused to play the Drakkari’s game.


Loa love-note: Har’koa & Loque’nahak (Zul’Drak ↔ Sholazar)

Loa love-note: Har’koa & Loque’nahak (Zul’Drak ↔ Sholazar)


The thread between zones. After you free Har’koa in Zul’Drak, the lore reveals her mate: the spectral leopard Loque’nahak, roaming Sholazar Basin a full zone away while she remains bound to the frozen north.

Who and where is Loque’nahak? He’s an extremely rare Spirit Beast (Beast Mastery-only tame) that spawns at seven known locations across Sholazar Basin. Coordinates span from the northwest (21.0, 70.0) to the southeast (71.0, 71.0), with several points near the Pillars and Nesingwary Camp. His nameplate reads Loque’nahak <Mate of Har’koa>, and that one line of gray text turns a rare-spawn chase into a story about separation and devotion.

Among all spirit beasts ever added, only two wear a title under their name. He’s one. The other is a wolf named Karoma, added years later. Expect a six-to-twelve-hour respawn timer, competition from other hunters, and the occasional heartbreak of finding only his corpse.

In print, a bookend. Exploring Azeroth: Northrend has the Bronzebeard brothers spotting Loque’nahak near the Skyreach Pillar during their post-war visit. He melted back into the green before either dwarf got close. Even the Explorers’ League couldn’t fully reach him.


Why hunters care (beyond the look). On release, Loque’nahak was the first tamable Spirit Beast, instantly becoming the archetypal “BM trophy.” He also has a deafening, unique roar. You’ll know when someone’s tamed him. He’s on the Northern Exposure and Frostbitten rare achievement lists. 

In the original WotLK, the achievements required kills, creating tension between achievement hunters and tamers. The original forums preserve the era: hunters recounting five-day camps that ended with a rival’s kill announcement in general chat, and a Blizzard developer replying that the difficulty was the design, a deliberate throwback for hunters who missed the old days of earning a pet.

Legion later changed this so taming grants credit. Consider courtesy pings in /general if you’re there to tame and spot non-hunters looking for the kill.


Breaking Through Jin'Alai

Breaking Through Jin’Alai


Feline gods, many tribes. Har’koa’s pairing with a great cat echoes a wider troll bestiary:

  • Har’koa – snow leopard (Drakkari)
  • Bethekk – panther (Gurubashi/Zandalari)
  • Halazzi – lynx (Amani/Zandalari)


Each tribe reflects its homeland through the wild gods it serves. And in Zul’Drak, after Breaking Through Jin’Alai, the Amani gods, including Halazzi, actually appear and direct you to help Har’koa.

Museum-run tip. For a lore-friendly circuit, visit the Altar of Har’koa (63.6, 70.0) in Zul’Drak, then loop Sholazar’s spawn points for screenshots or scouting. The Zandalari at Zim’Torga came to chronicle the Drakkari collapse, framing Har’koa’s story like a historical exhibit. At the same time, her mate roams the jungles to the west, close enough to sense, too far to reach.

Altar of Mam’toth: Where a God Chose to Fall Rather Than Be Defiled


Where: Southeastern Zul’Drak, on the terrace southeast of Zol’Maz Stronghold. The altar object itself sits at approximately (74.7, 43), overlooking the crater.

When the Drakkari began butchering their own loa for power, the mammoth-spirit Mam’toth refused defilement. He self-detonated, taking his temple and his own body with him and leaving behind a basin of crackling blue ooze, the still-living blood of a dead god. The crater has bled ever since.


Wooly Justice

Wooly Justice


What you do here:

  1. Blood of a Dead God: Har’koa sends you to the crater to collect 7 Blood of Mam’toth, the coagulated god-blood oozes, because she intends to sacrifice a portion of her own spirit for the ritual and needs the dead god’s blood to survive giving it. When you return, she performs it and is visibly weakened. A dead god’s blood, spent so a living god can bleed. Her quest text contains one of the most mournful lines in Zul’Drak: “I wish that there were something that we could do to bring Mam’toth back to life, but there isn’t. We can honor him and his sacrifice by continuing the fight against the Drakkari.”
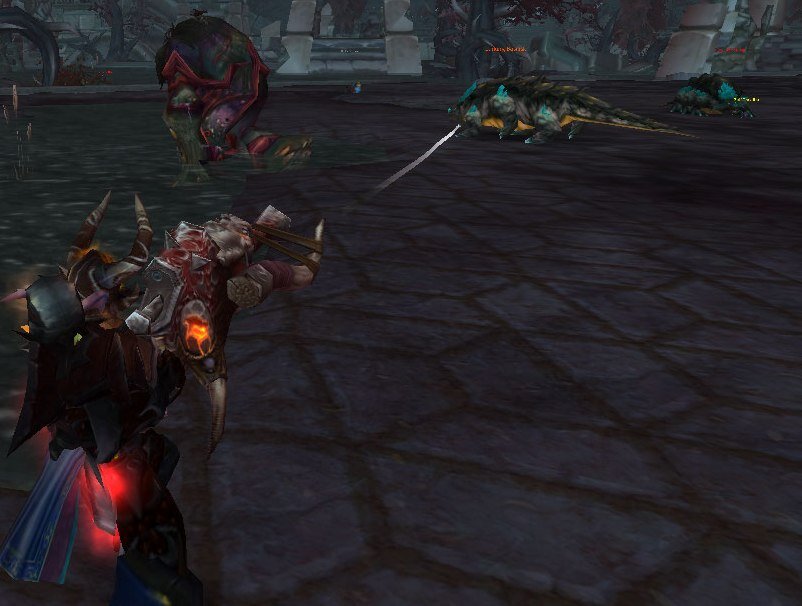
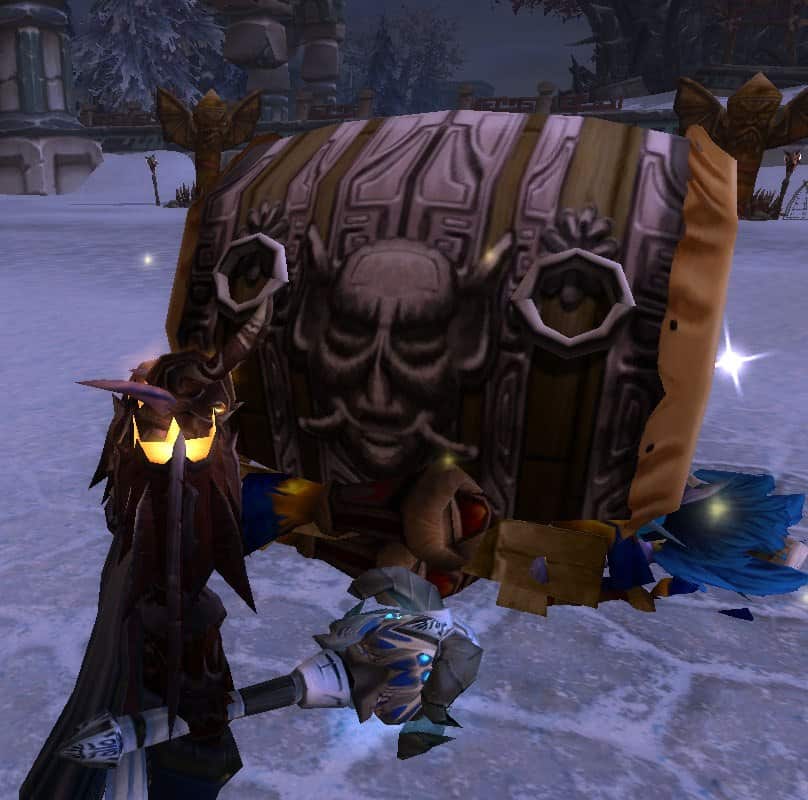
  2. Wooly Justice: Scalper Ahunae at Zim’Torga gives you the Medallion of Mam’toth. Flash it at an Enraged Mammoth to calm and mount it, then use Rushing Charge and Trample to crush 12 Mam’toth Disciple around the shattered altar. Ahunae’s completion line: “Score one for the victims, mon!”


People to know: Moorabi, High Prophet of Mam’toth, appears as a boss in Gundrak. Despite Mam’toth destroying himself specifically to deny the Drakkari his power, Moorabi drank the loa’s blood anyway and gained some of his strength. The sacrifice was partly in vain.


Lore context (why this altar matters):

  • This altar is the starkest expression of the Drakkari’s gambit to sacrifice the loa and save the empire, answered by a loa who chose annihilation over corruption.
  • Troll loa = Wild Gods/Ancients by another name. The kaldorei mourn Cenarius and Malorne; the Drakkari mourn their bestial patrons. Betray your patron spirit, and the land itself pays.
  • Afterlives footnote: Har’koa’s mournful certainty turned out to be wrong. Shadowlands revealed Ardenweald, the realm where Wild Gods rest and regrow, and there, in a wildseed in the Tranquil Pools, Mam’toth’s spirit was found quietly recovering. Bwonsamdi’s mask says it best, hovering over the seed: “Mam’toth be restin’ real peaceful now. Shame about dat nasty business back in Zul’Drak!” Rhunok’s dying message to Har’koa had been the true one all along: no matter what, the loa are eternal. Not even a goddess knew about the place where gods go to heal.
  • Chroniclers: The Zandalari scribes at Zim’Torga came to chronicle a collapse, though Khufu’s dispatches kept turning into rescue orders.  Exploring Azeroth: Northrend later notes the crater still crawls with Mam’toth’s blood, an open wound on Zul’Drak that has never closed.

The Amphitheater and the Fallen Necropolis


The Amphitheater of Anguish revives a Burning Crusade tradition. Like the Ring of Blood in Nagrand before it, this fight-pit questline throws players into escalating arena combat with group-level rewards. It became a leveling milestone, the place where strangers grouped up in zone chat and walked away with weapons that lasted for levels. The format would return again in later expansions, but Zul’Drak’s version carries Wrath’s particular brutality in its enemy design.

At Kolramas, a Scourge necropolis lies broken in the snow. Unlike the floating citadels still circling Icecrown, this one fell, and the crash didn’t stop its corruption. The ground around it remains poisoned, undead still crawling from the wreckage.


Amphitheater of Anguish: Zul’Drak’s Fight-Pit Revival

Amphitheater of Anguish: Zul’Drak’s Fight-Pit Revival


Where/what: The Amphitheater of Anguish is a tiered arena northeast of Argent Stand. Gurgthock (perched on an undersized mammoth) emcees the carnage; Wodin the Troll-Servant handles turn-ins. Stands sit around (47.3, 57.1); goblin snack vendors patrol near (48.4, 58.4).

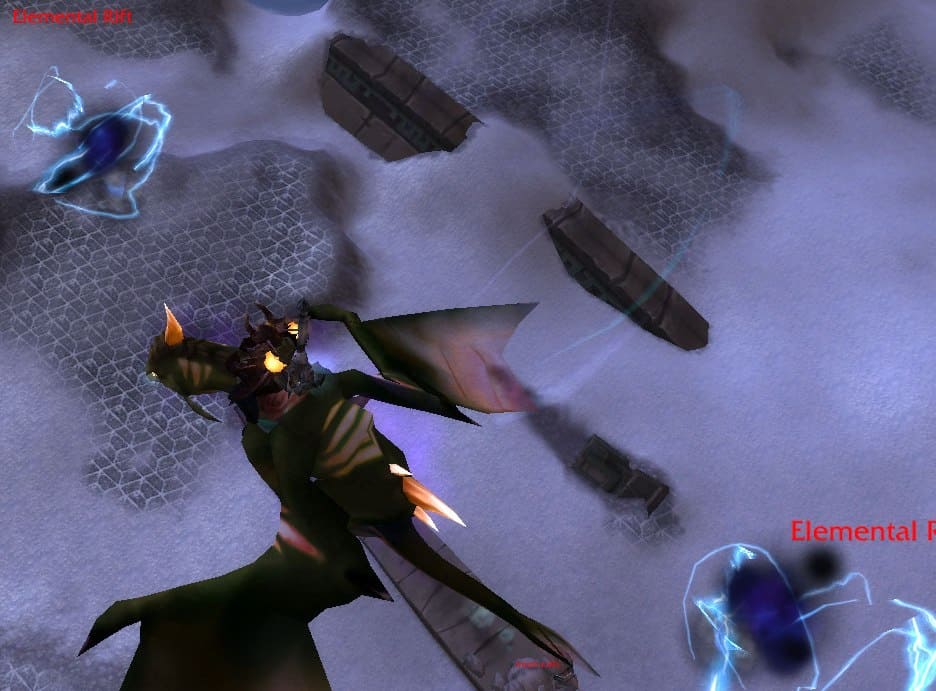
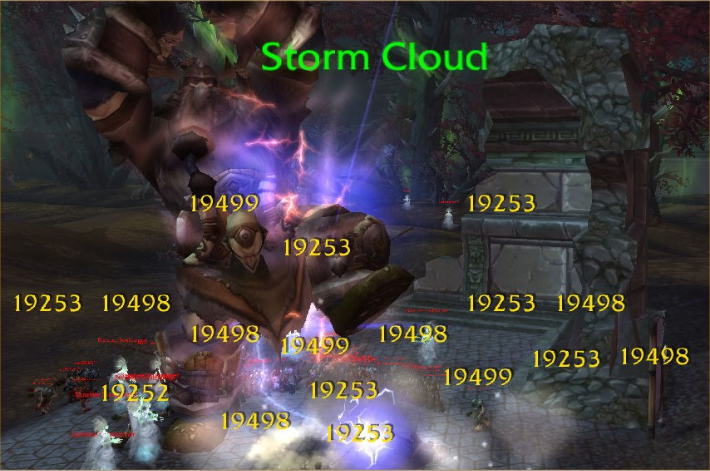
How it plays: Speak to Gurgthock to start each bout; turn in to Wodin after every win. The six-fight card: Yggdras → Magnataur! (Stinkbeard, from Dragonblight) → From Beyond! (random elemental lord) → Tuskarrmageddon! (Orinoko Tuskbreaker) → Korrak the Bloodrager! → The Champion of Anguish (Vladof the Butcher, a vrykul from Icecrown’s steppes).

Round five is where the arena stops being a sideshow. Gurgthock hypes Korrak with a warning that he’s “been sippin’ the animal god juice,” a power play by the Drakkari trolls. The loa-draining catastrophe unfolding across every altar in the zone supplies the arena’s main event, and the emcee reads it as a selling point.

If you wipe, step out to reset. Classic Ring-of-Blood rules.


The Amphitheater of Anguish Yggdras!

The Amphitheater of Anguish: Yggdras!


Why it’s a “museum” stop: It’s Wrath’s direct sequel to Outland’s Ring of Blood, the middle panel of a long-running gladiator franchise:

  1. Classic: Gurubashi Arena (Stranglethorn Vale) – the spiritual ancestor. Free-for-all PvP brawls over a treasure chest, but no Gurgthock in sight.
  2. TBC: Ring of Blood (Nagrand, Laughing Skull Ruins). Gurgthock’s breakout show: five-man gauntlet with bosses like Brokentoe, The Blue Brothers, Rokdar the Sundered Lord, Skra’gath, and the closer Mogor, handing out sought-after blues for mid-60s leveling and the blueprint for every show after.
  3. WotLK: Amphitheater of Anguish (this one), transplanted to Drakkari stone.
  4. Cataclysm: Crucible of Carnage (Twilight Highlands). Same carnival format, new bark: Gurgthock and Wodin pitch six brutish headliners to fresh level-84s. Then came patch 4.2, where Gurgthock moonlights as a hireable bruiser in the Protectors of Hyjal daily at Sethria’s Roost, flying a small wyvern and threatening enemies with the ultimate escalation: “Oh, don’t MAKE me summon my troll-servant!”
  5. Mists of Pandaria: Arena of Annihilation (Temple of the White Tiger, Kun-Lai Summit), a scenario-style spectacle with a weapon pick for fresh 90s.
  6. Warlords of Draenor: Ring of Blood returns (alt-Nagrand, Draenor) with an orcish spin; Gurgthock even ropes Alliance NPCs (hello, Admiral Taylor’s men) into the mayhem.
  7. Battle for Azeroth: Ring of Booty (Freehold) – Gurgthock and Wodin show up, captured by the Irontide Raiders, forced to hype pirate prizefights. The moment a greased pig appeared on the fight card, Gurgthock started having doubts about the production values.
  8. Dragonflight: Field of Ferocity (Ohn’ahran Plains) – the duo back on the mic, touring the Dragon Isles with a rotating card.


The Amphitheater of Anguish Yggdras! 2


Gurgthock & Wodin: Gurgthock is the goblin hype-man who “discovers” that every continent loves a bloodsport; Wodin is the deadpan jungle troll fixer who schleps contracts, payouts, and snark. Both names honor players from Elitist Jerks, the US-Mal’Ganis guild whose theorycrafting forums educated a generation of raiders. Gurgthock was the character of Ion Hazzikostas, who went from leading Elitist Jerks raids to becoming World of Warcraft’s Game Director. The arena barker outlived the guild that named him.

In Zul’Drak, Wodin also adopted a warrior kitten named Zena, who apparently met his standards for contract enforcement. Wodin has history with Korrak. He claims he used to work for the Frostwolf clan and remembers Korrak as the one who “would never shut up.”

Rewards: Finishing The Champion of Anguish let you choose one of the expansion’s best pre-heroic-dungeon blues: Wodin’s Second-Best Shanker • Icier Barbed Spear • Chilly Slobberknocker • De-Raged Waraxe • Screw-Sprung Fixer-Upper • Crimson Cranium Crusher. For many groups, this was the instant power spike before stepping into dungeons.

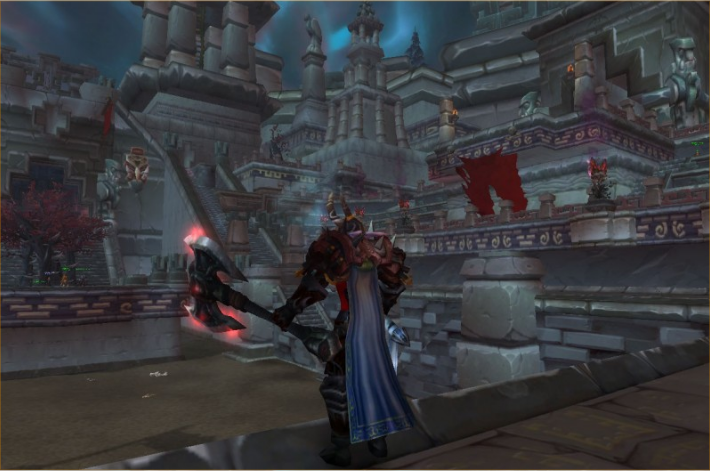
For my night elf warrior, Vikstone, the De-Raged Waraxe was one of his primary weapons during the leveling process, one of the best two-handed weapons for Arms Warriors.


Culture-in-motion: The Amphitheater sits on Drakkari masonry, an arena once used for to-the-death games long before Gurgthock arrived. Muradin Bronzebeard’s verdict, per Exploring Azeroth: Northrend, is that Gurgthock changed nothing. The Drakkari built the place for death as a sport, and the goblin just added a ticket booth.

In Exploring Azeroth: Northrend, the Bronzebeards later confirm the arena still serves for gladiatorial games after the defeat of the Jailer. Gurgthock’s roadshow endures.


Tiny details to spot: Goblin vendors actually toss freebies if you /wave at them, snacks lobbed your way, stadium-style. Gurgthock’s VO riffs escalate between rounds (“And with AUTHORITY, dominates the magnataur lord!”).

And yes, Wodin does the paperwork. Turn-ins always go through him here. “No payout until the fight’s over, man.”

Kolramas: Crashed Scourge Necropolis


Where: Kolramas, south of the Altar of Har’koa in Zul’Drak, around (60.6, 78.8). A fallen necropolis half-buried in permafrost, still leaking jaundiced rot into the snow.

What happened: The Drakkari managed something few forces on Azeroth ever did: they knocked a Scourge necropolis clean out of the sky. It wasn’t enough. Hath’ar undead nerubians survived the impact, poured from the ruptured hull, and their Necromagi went to work on the nearest raw material, the fallen soldiers of the Argent Crusade camped next door.

This sets up Death to the Necromagi and the kill order on Malas the Corrupter.


Nerubian architecture lesson: Scourge necropolises are repurposed nerubian ziggurats, old spider-empire pyramids that the Lich King infused with magic and tore from the earth to fly. Even Naxxramas was originally an ancient subterranean nerubian ziggurat, conquered during the War of the Spider when Anub’arak led the undead to seize nerubian strongholds for the Lich King.

Kolramas is a field-museum of that architectural conquest: tiered plates, rune pylons, and that unmistakable silhouette of spider-empire design, now half-embedded in troll territory.

Who runs it now: Malas the Corrupter, a nerubian vizier, commands the wreck. Expect dense undead patrols and nerubian elites stacked along the broken tiers on your way to him. Malas guards the wreck like something he loves. Listen to him fight: His combat lines include “My beautiful Kolramas! You will all pay dearly for the outrage!” and the casually terrifying “If you kill them, I will simply reanimate their corpses. And when you die, I will do the same to you.”

His most chilling line is the one that renders the whole zone’s tragedy pointless: “Drakkari, this will not stop us from stealing the power of your wild gods. We will take it from them directly, or from you if you’ve already killed them; it matters not.”

The god-slaughter unfolding at every altar in Zul’Drak bought the Drakkari nothing. The Scourge always planned to collect either way.


A Tangled Skein

A Tangled Skein


Museum connections:

  • Drak’Sotra ↔ Kolramas: Sergeant Moonshard at the Argent outpost of Drak’Sotra mourns: “Now they’re raising our men from the dead and using them against us!” His voice cracks as he assigns you to slaughter the necromagi. His progress text: “It’s not enough! We must do more to show respect for the memories of those men!”
  • Har’koa’s terrace above: South of the snow-leopard altar makes Kolramas a tidy stop on a Zul’Drak tour: loa tragedy → Scourge intrusion.
  • Saronite discovery: Kolramas was carrying a massive shipment of saronite when it crashed, making it one of the first places where players encounter the Yogg-Saron-tainted ore. The quest Pure Evil has you gather chunks for study. When Eitrigg tries to analyze it at Argent Stand, Avenger Metz casts Hammer of Wrath on a sample, and the resulting explosion knocks everyone flat. “Can you not feel the pure evil of the stuff?”
  • Archaeology footnote: Kolramas later appears as a Nerubian dig site, a meta-nod that you’re standing in spider-empire ruins. Surveying here feeds the nerubian artifact pool, which includes the Puzzle Box of Yogg-Saron, that unsettling whisper-box that mutters Old God riddles. Fitting, for a dig site that crashed to earth carrying a hold full of the Old God’s ore.
  • Legacy of blight: Even after the war against the Jailer, the Bronzebeard brothers reported the wreckage still juts from the landscape, with sick yellow blight spreading outward. Gurgthock’s amphitheater endures; so does the Scourge.

Zul’Drak Storyline Quests


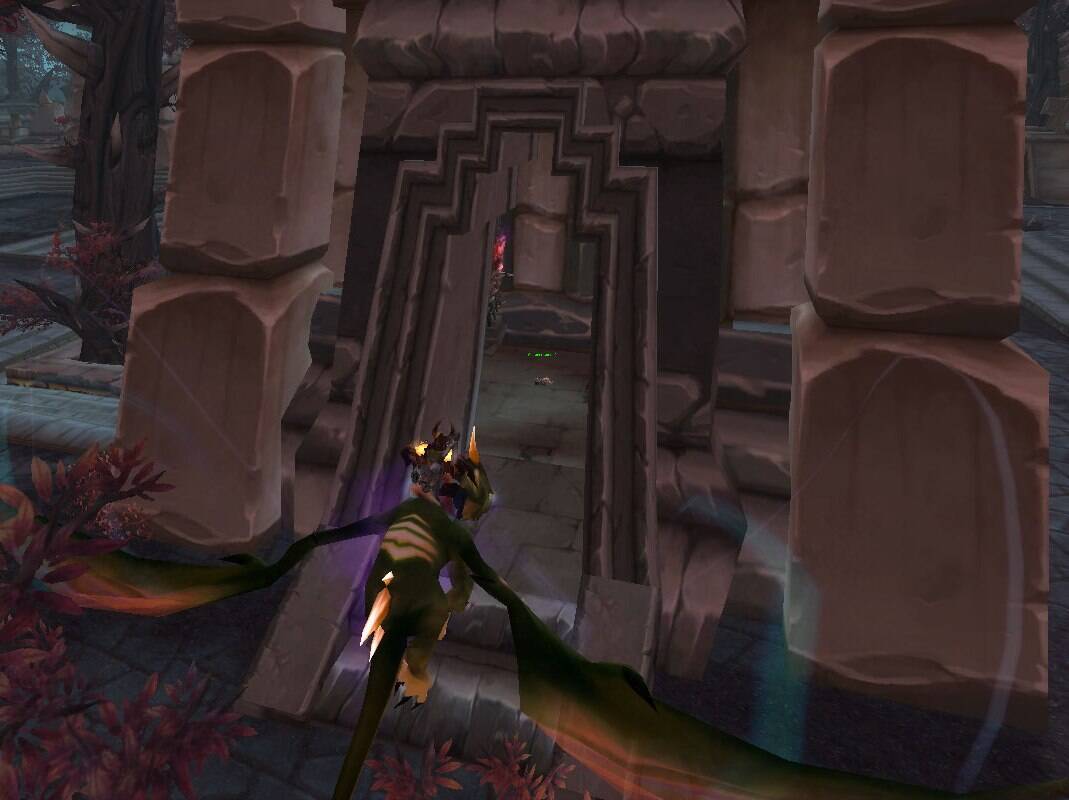
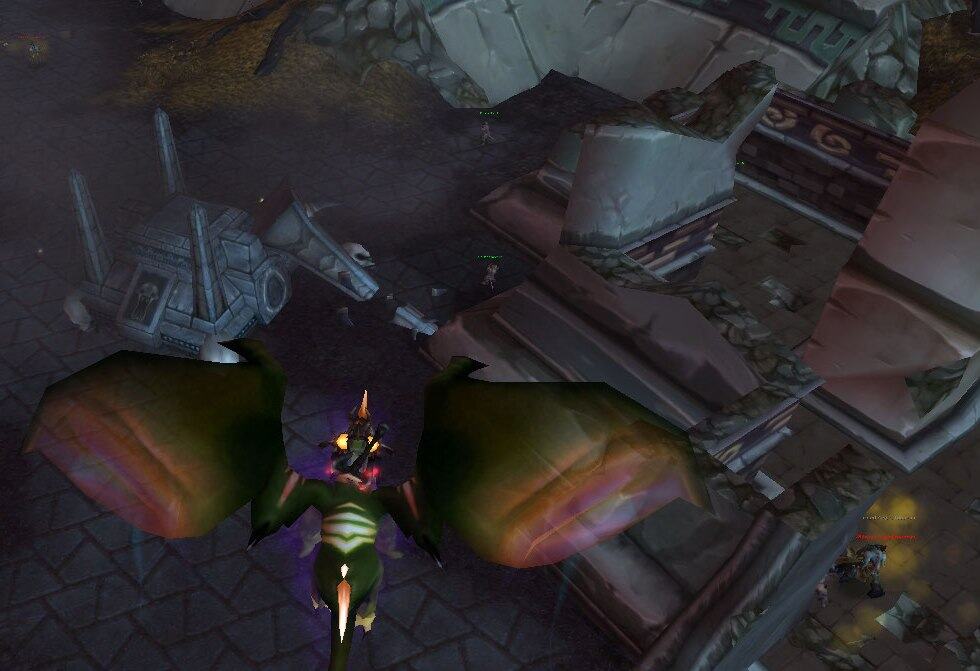
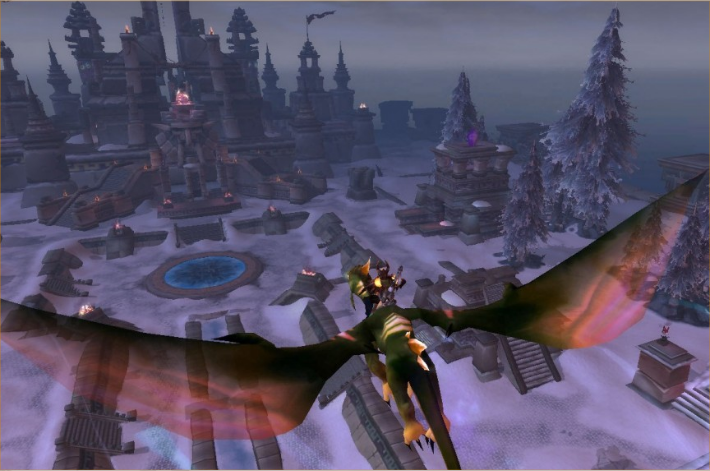
Every quest below was documented during my original 2008-2009 playthrough. Each quest page includes War Journal excerpts from the field, as Vikstone tells his story.

Click through for full walkthroughs, lore notes, and the original screenshots that make this time capsule possible.


Support the Archive
GamerTribute is a free museum, built and hosted out of pocket. If these pages brought back your Northrend, you can help keep them online.
Cover the Repair Costs
One-time support through Ko-fi. Every contribution goes to hosting and upkeep.

Light’s Breach

Argent Stand

Ebon Watch

Heb’valok

Zim’Torga

Crusader Forward Camp

Drak’Sotra

Dubra’Jin

Amphitheater of Anguish

Share this:

The Making of the Guide

Solo PvP Guide

The Guide to SWGEmu

>