Expeditions, war stories & culture

War stories, articles & game guides

Gamer

Tribute

2026

Expeditions,

War Stories &

Culture

Share

Against the Giants

Quest 4 of 6 in the Aldur'thar Offensive Chain Group Quest
Both Factions • Icecrown • Level 80 • The Skybreaker
Collect 5 Pustulant Spines from the Pustulant Horrors on Mord'rethar.
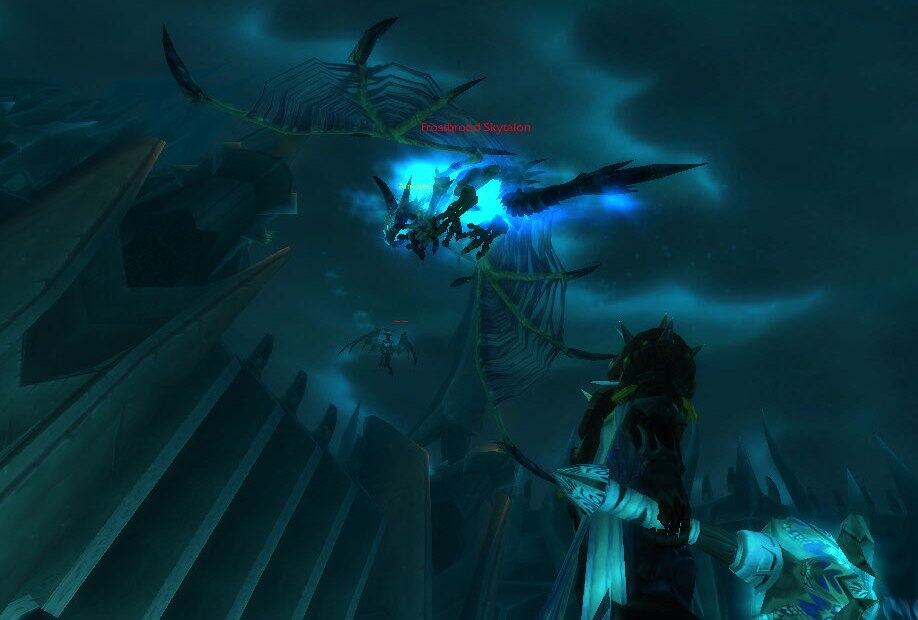
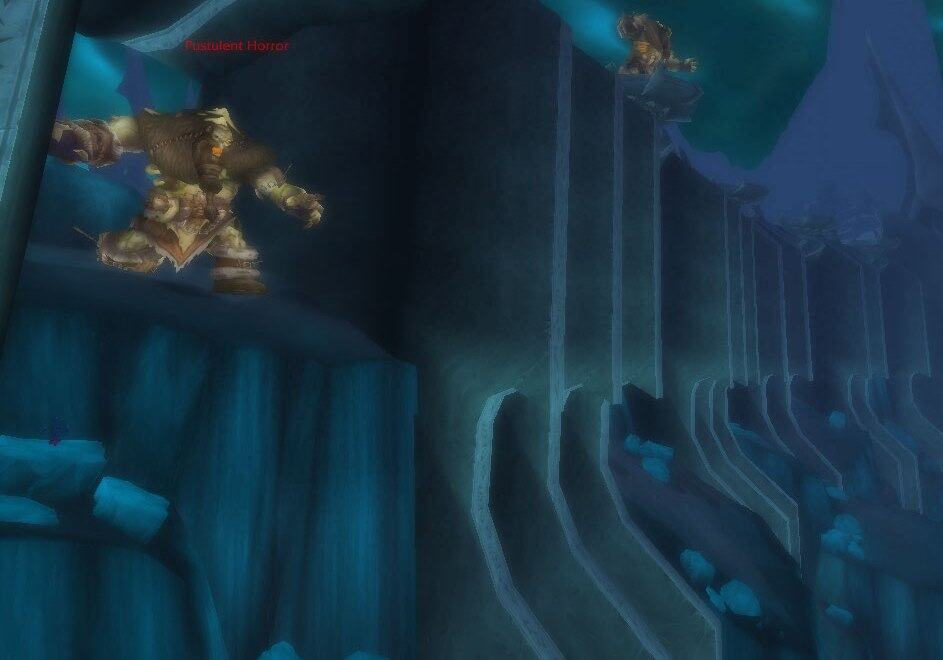
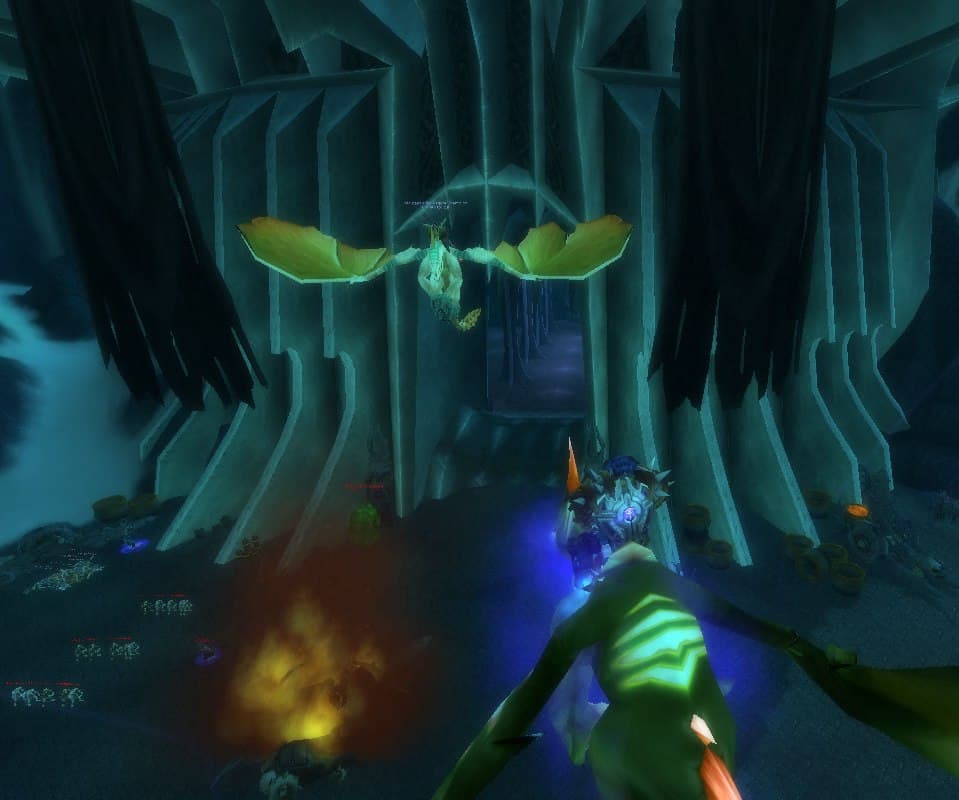
The giants patrol the gate ramparts around 68, 58 and the fight is decided by positioning rather than damage. Put your back to a wall or fight between the gate uprights. Their knockback will otherwise throw you off the bridge or past a very short leash, at which point the giant resets to full health. If you do get launched, run back through the giant rather than away from it. The spines are group loot, so five players clear the whole thing in five kills instead of twenty-five.
Vikstone's Classic Expedition
Thassarian said muster a force and what turned up was one gnome with a frost spell and no visible sense of proportion. Bombadil went down twice on those ramparts and was casting again before he had finished standing up, which is how two of them took five spines off a death gate.

“While it’s going to be crucial to defeat the Scourge on the ground, we mustn’t neglect the gate itself. The flesh giants on the ramparts are capable of hurling massive boulders and chunks of ice, inflicting devasting damage to enemy infantry below. Muster a force and defeat these giants. We need to know just what we’re up against in terms of their strength.

Oh… and bring me their spines. If memory serves, there’s a little trick I can share with you.”

-Thassarian

Objective

LEVEL

80

Requires level

77

Start

Thassarian on the Skybreaker wants you to bring him 5 Pustulant Spines from the Pustulant Horrors on Mord’rethar.

  • Pustulant Spine (5)


Suggested players: 3


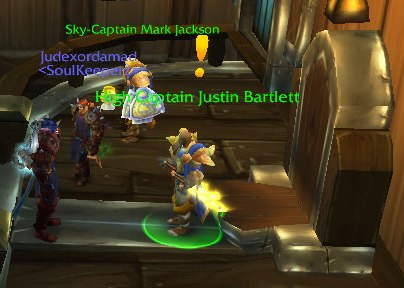
Quest Giver: High Captain Justin Bartlett Location: Aboard The Skybreaker, Icecrown Travel to Mord'Rethar: Mord'Rethar is located at coordinates 65, 59. The giants are spread throughout this area, including near the bridges north and south of The Broken Front. Identifying Targets: Forgotten Depths High Priests and Forgotten Depths Underkings are both acceptable targets. These level 80 elites have roughly 67,000 HP and hit for about 1,000–2,000 damage on cloth. Primary Location: 65, 59 near Mord'Rethar. Alternative Location: Giants can also be found on the north bridge (68, 58) and south bridge (70, 71) of The Broken Front.
Quest Giver: Thassarian — The Skybreaker, Icecrown
Travel to Mord’Rethar: These flesh giants patrol the ramparts and bridges of Mord’rethar in eastern Icecrown, spanning roughly [65, 59] to [72, 58]. Go to [68, 58], on top of the gate. They are level 81-82 elites


Reward

You will also receive:

14 Gold

80 Silver

Upon completion of this quest you will gain:

Upon completion of this quest you will gain: 27,550 experience
250 reputation with Valiance Expedition

Walkthrough


Quest Giver (Alliance): Thassarian — The Skybreaker, Icecrown

Quest Giver (Horde): Koltira Deathweaver — Orgrim’s Hammer, Icecrown

Objective: Collect 5 Pustulant Spines from Pustulant Horrors on Mord’rethar: The Death Gate.


Quick Facts

  • Type: One-time quest (Group 3 suggested)
  • Level: 80
  • Prerequisite: Poke and Prod
  • Chain Position: Leads to Basic Chemistry, then the Neutralizing the Plague daily. Also opens Coprous the Defiled.
  • Group Loot: Spines are group-lootable. All party members can loot each kill.


Walkthrough

Find the Pustulant Horrors

  • These flesh giants patrol the ramparts and bridges of Mord’rethar in eastern Icecrown, spanning roughly [65, 59] to [72, 58]. They are specifically at [68, 58] on top of the gate. They are level 81-82 elites.
  • The level 81 versions have 65,165 HP. The level 82 versions have 67,405 HP. If you’re soloing and want an easier time, target the 81s.


The Two Big Mechanics

  • Knockback: The Pustulant Horrors have a periodic knockback that punts you a significant distance. This is the defining challenge of the fight. If you’re on the bridge, the knockback can send you off the edge to your death. If it pushes you too far from the giant’s patrol area, the mob will evade and reset to full health.
  • Short Leash: These giants have a notoriously short leash. If dragged too far from their spawn point, they reset immediately. Many report this as the most frustrating aspect of the quest, not the combat difficulty itself.


Class-by-Class Solo Tactics

Class/Spec Strategy Key Notes
Death Knight (any spec) Straightforward face-tank. Blood DKs trivialize this with Death Strike healing. Use charge/Death Grip after knockbacks to close the gap quickly. Easiest class for this quest. Level 78-79 DKs report soloing without difficulty.
Paladin (Retribution) Open with Repentance for a free crit. Use Judgement of Light for passive healing. Hammer of Justice and Holy Wrath both stun (they’re undead), giving windows for Holy Light self-heals. Exorcism works since they’re undead. Very soloable. Pop Avenging Wrath and Bubble as emergency buttons.
Warrior (Prot) Keep back to a wall to minimize knockback distance. TC, Demo Shout, Rend, and execute. Use Charge (Warbringer talent lets you use it mid-air during knockback for instant return with no fall damage). Enraged Regeneration for self-healing. The Warbringer trick is the standout tip.
Hunter (any spec) Misdirect to pet, maintain Mend Pet constantly, manage threat carefully with Omen. Feign Death if you pull aggro. BM hunters with Intimidation have an easier time. Scorpid Sting reduces incoming damage on pet. Track Undead for bonus damage (Survival). MD every cooldown.
Warlock (Demo/Affliction) Voidwalker tanks comfortably. Demonic Empowerment trivializes threat. Keep DoTs up, Health Funnel the VW. Place a Demonic Circle at the safe spot and teleport back after knockbacks. Use Passive command on VW after knockbacks to prevent it from being dragged out of leash range. The Demonic Circle trick is excellent for managing the leash issue.
Mage (Frost) Kite with Frostbolt, Deep Freeze on FoF procs, Water Elemental for extra threat/damage. Not immune to roots or snares. Critical: Blink through them after knockback, not away, to stay within leash range. Very easy for Frost. Killed without being hit once by some players.
Druid (Balance) Root and nuke from range. Do not let them reach you (they may evade if they melee a rooted target and then can’t path back). Keep roots up, stay at range, Starfire/Wrath. If things go wrong, Flight Form to safety.
Priest (Shadow) Shields, DoTs, kiting. Dispersion as emergency. A healing priest paired with any DPS makes this trivial. One player reported soloing as Disc in tree form (slowly but successfully). Not the fastest solo, but doable.
Rogue Blow cooldowns, stun-lock windows for Recuperate/bandage. Make sure to use Combat Readiness or Evasion. Trade bones at the Ebon Blade Witch for the “heal on crit” runestone for passive sustain. Doable with decent gear. Keep back to a wall.
Shaman (Elemental) Flame Shock into Lava Burst, self-heal with Lesser Healing Wave between casts. Hex does not work (they’re undead) but Earthbind Totem helps after knockback. Straightforward ranged burn.


Universal Tips

  • Fight with your back to a wall or between the gate’s uprights. This prevents the knockback from pushing you off the bridge or out of leash range. This single tip eliminates most frustration with the quest.
  • Stay within the giant’s patrol area. The leash is short. If knocked back, run through the giant (not away from it) to get back to the safe zone.
  • Not immune to stuns, roots, or snares, though it is reported some of them cannot be kited at all, so have a stand-and-fight plan even on a ranged class. Not immune to the Gnomish Poultryizer. Crowd control makes this significantly easier.
  • ICC door NPCs: After the Icecrown Citadel doors opened, Pustulant Horrors near the ICC entrance sometimes fight with the Argent/Ebon Blade NPCs stationed there. You can tag the giant and let the NPCs tank while you DPS for easy credit.
  • While marked as a 3-player group quest, the consensus is that these are very soloable for most classes in quest blues/heroic gear at level 80. Even healers and sub-80 characters have reported success. The difficulty is more about managing the knockback and leash than raw damage.


Efficiency Tips

  • Group up if you can. The spines are group-lootable, meaning a full party of 5 can each loot every kill, finishing the quest in just 5 kills total rather than 5 per person.
  • This quest rewards an Emblem of Heroism, making it one of the few non-dungeon sources of badge currency. Worth completing even if you have to group.


Easter Egg

  • The quest name is a reference to Against the Giants, a classic 1978 Dungeons & Dragons adventure module by Gary Gygax. In the original D&D adventure, players assault a series of progressively larger giant strongholds. Here, you’re assaulting flesh giants on the ramparts of a death gate.


Explore Icecrown’s hidden easter eggs, lore mysteries, and connections across Warcraft history in Vikstone’s Icecrown Chronicles, along with the complete quest storyline.

Upon completion of this quest you will gain:
1,220 experience
10 reputation with Valiance Expedition

Warrior IconVikstone's War Journal

“While it’s going to be crucial to defeat the Scourge on the ground, we mustn’t neglect the gate itself,” Thassarian said. “The flesh giants on the ramparts are capable of hurling massive boulders and chunks of ice, inflicting devastating damage to enemy infantry below. Muster a force and defeat these giants. We need to know just what we’re up against in terms of their strength. Oh… and bring me their spines. If memory serves, there’s a little trick I can share with you.”

Muster a force. I put it about the deck and got one taker.

Vikstone Portrait Act 3
Illustrated by Christian DiBari and Simon Gough.

Bombadil is a gnome, and a mage, and comes up to roughly my belt. He asked two questions before he agreed. How many giants, and did I intend to charge them. When I said five and yes, he said that was what he had been afraid of, and went to get his staff.

Mord’rethar’s ramparts are not built for anything my size, let alone theirs. The Pustulent Horrors stand twenty feet of other people sewn together, weeping down their own legs as they move, and they do not chase. That was the problem. You cannot pull one off the wall and work it in the open. Whatever you do to a Pustulent Horror, you do standing on its ground, inside the arc of its arms, for as long as it takes.

The first one saw us coming and tore a section of its own rampart loose to throw at us. Frozen stone came apart where we had been standing. I went in under the second throw while Bombadil started working from the far end of the wall.

The Destroyer went into its knee and the greataxe opened the thigh above it, and it swung wild and caught me across the chest and put me down the length of the walkway. I got up because Bombadil’s frost had reached its shoulders by then. He does not kill them; he slows them until the speed of the thing drops into a range a man can read. A Horror at full speed is faster than it has any right to be. A Horror at three-quarters is a slow-moving building. He gave me that difference.

The fourth one put him on his back and he cast from one knee before he was fully upright, and did not mention it afterward, and I have decided not to mention it to him either.

We came down off that wall with the spines and very little else. My chest is one colour from collarbone to hip and I have not looked at my back.

“Excellent. These look to be usable samples.” Thassarian turned one of the spines over in his hands the way a smith checks a billet. “Time again to use the enemy’s strength against them….”


Five spines told Thassarian what he wanted to know about the gate’s defenders, and the answer pointed at one of them in particular, a thing rotting on the ramparts that the Scourge had built badly enough to be worth a name of its own in Coprous the Defiled.

Share

Share this:

The Making of the Guide

Solo PvP Guide

The Guide to SWGEmu

>