Expeditions, war stories & culture

War stories, articles & game guides

Gamer

Tribute

2026

Expeditions,

War Stories &

Culture

Share

Coprous the Defiled

Quest 5 of 6 in the Aldur'thar Offensive Chain Group Quest
Both Factions • Icecrown • Level 80 • The Skybreaker
Kill Coprous the Defiled at Mord'rethar: The Death Gate.
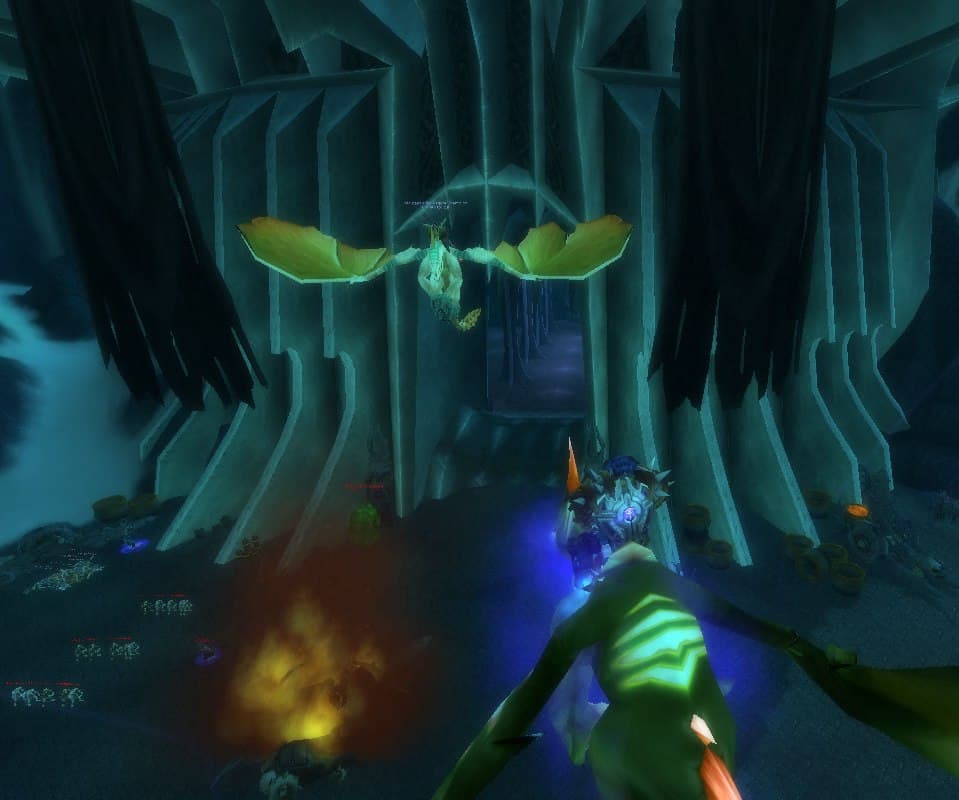
Enter through the western building at 63.6, 62.1 and clear the Plagued Fiends before you pull, since a slow fight will see them respawn on top of you. Acid Geyser is the whole fight, and the pillars in his chamber break line of sight on it completely. Step behind one the moment the channel starts and use the gap to bandage or drink. Everything else is patience against a large health pool. Suggested for five, though the pillars make it manageable well below that, and one kill credits the whole party.
Vikstone's Classic Expedition
Five of them went into the western chamber and the fight came down to two shields hammering the same seams while the acid came up through the floor. Wopak sat on the corpse afterward and called it an ugly bastard.

“Reports of a powerful zombie at the death gate have reached my ears, Warrior. We cannot allow a potential threat such as this to go unchallenged. Any information you are able to glean from engaging it will be better than what we know now.

Go to the western chamber of the gate and find this creature. Fight him, and find a weakness we might exploit.”

-Thassarian

Objective

LEVEL

80

Requires level

77

Start

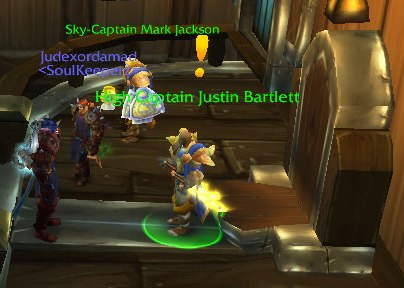
Thassarian aboard the Skybreaker wants you to kill Coprous the Defiled at Mord’rethar.


Suggested players: 5


Quest Giver: Father Gustav
Location: Inside Mord'Rethar, The Death Gate in Icecrown.
Locate Mord'Rethar Entrance:
The entrance to Coprous’s chamber is at 63.6, 62.1, inside Mord'Rethar.
Quest Giver: Thassarian — The Skybreaker, Icecrown
Locate Mord’Rethar Entrance: Enter Mord’rethar through the western building at [63.6, 62.1]. Coprous is inside the chamber. Clear the Plagued Fiends in the room before pulling Coprous to avoid adds during the fight.


Reward

You will also receive:

22 Gold

20 Silver

Upon completion of this quest you will gain:

33,100 experience
250 reputation with Valiance Expedition

Walkthrough


Quest Giver (Alliance): Thassarian — The Skybreaker, Icecrown

Quest Giver (Horde): Koltira Deathweaver — Orgrim’s Hammer, Icecrown

Objective: Kill Coprous the Defiled at Mord’rethar: The Death Gate and return to your quest giver.


Quick Facts

  • Type: One-time quest (Group 5 suggested)
  • Level: 80
  • Prerequisite: Against the Giants
  • Location: Western chamber of Mord’rethar, entrance at [63.6, 62.1]. Coprous is inside at approximately [60.9, 62.2].
  • Chain Position: Leads to Basic Chemistry and the Neutralizing the Plague daily.


Bestiary: Coprous the Defiled

Attribute Details
Type Flesh giant (elite)
Health ~100,000 HP
Melee Damage ~3,500 on plate, ~4,000-5,000 on leather/cloth
Ability 1: Acid Geyser Channeled AoE. Deals 1,425-1,575 Nature damage per second for 8 seconds to the target and all nearby enemies. Can be avoided by breaking line of sight behind the pillars in his chamber.
Ability 2: Knockdown Stuns the target for 2 seconds.
Vulnerable to CC Can be snared, trapped, rooted, shackled (Shackle Undead), and feared (Turn Evil). Not immune to stuns.


Walkthrough

Getting There

  • Enter Mord’rethar through the western building at [63.6, 62.1]. Coprous is inside the chamber. Clear the Plagued Fiends in the room before pulling Coprous to avoid adds during the fight. Be aware of respawn timers if the fight runs long.


The Fight

  • Coprous is a straightforward tank-and-spank with one critical mechanic: Acid Geyser. When he starts channeling it, run behind one of the pillars in his room to break line of sight. The channel lasts 8 seconds. If you don’t LoS it, the damage adds up fast (over 12,000 total). Once the channel ends, re-engage.
  • His Knockdown stun lasts 2 seconds. Not long enough to be dangerous on its own, but it can be lethal if it overlaps with Acid Geyser. Save a trinket or CC break for this scenario if you’re soloing.
  • Between Acid Geyser casts, this is a pure DPS race. His melee damage is moderate for an elite but sustained over the 100k HP pool, it will tax your resources. Use the pillar LoS windows to bandage, drink, or heal up.


Class-by-Class Solo Tactics

Class/Spec Strategy Key Notes
Death Knight (any spec) Face-tank, Death Strike through damage. Use Icebound Fortitude during Acid Geyser if you can’t reach a pillar. Blood DKs can essentially ignore mechanics. Easier solo.
Paladin (Retribution) DPS rotation with Hammer of Justice and Holy Wrath stuns for healing windows. Repentance for longer breaks (mana regen via Divine Plea during Repentance). Turn Evil works as a fear. LoS Acid Geyser behind pillars, self-heal with instant Flash of Light procs. 5+ minute fight but very manageable. Bubble for emergencies.
Paladin (Protection) Spell Reflect Acid Geyser. Shield Block and standard mitigation for melee. Self-heal as needed. Prot warriors can also Spell Reflect (see Warrior).
Warrior (Protection) Spell Reflect the Acid Geyser for massive reflected damage. Shield Block, Enraged Regeneration, and Last Stand. One potion may be needed. Spell Reflect is the standout trick here.
Hunter (any spec) Kite around the pillars. Pet for extra DPS, not tanking. LoS Acid Geyser. He can be trapped (Frost Trap) and snared (Concussive Shot). Mend Pet if pet takes hits. Bandage during LoS windows. Very clean kite fight. May need a few bandages.
Warlock (any spec) Voidwalker or Felguard tanks. Keep DoTs up, Health Funnel pet. During Acid Geyser, move pet behind pillar or accept the damage and heal through. Standard pet-tank approach.
Mage (Frost) Root, Frostbolt kite, Deep Freeze on procs. Blink behind pillars for Acid Geyser. Mirror Image for extra DPS. Harder at 78, comfortable at 80.
Druid (Balance) Root with Entangling Roots, DoT with Moonfire and Insect Swarm, LoS Acid Geyser. Entire fight can be done with just DoTs ticking while kiting around pillars. Nature’s Grasp for emergency roots. Endurance fight. Very safe if patient.
Druid (Feral) Bear form for mitigation. Bash to interrupt Acid Geyser when possible. Nature’s Grasp then shift to caster for healing. Doable.
Priest (any spec) Shackle Undead works on Coprous. Shackle, DoT, DPS, re-shackle when it breaks. LoS Acid Geyser. Shield for Knockdown windows. Shackle trivializes this fight completely.
Shaman (Elemental) Standard ranged nuke with self-heals. LoS Acid Geyser. Straightforward ranged approach.
Rogue Cheap Shot opener, Evasion for melee windows, Kidney Shot to interrupt Acid Geyser. Kite around pillars as needed. Vanish to reset if things go wrong. Doable but tight. Bring bandages and potions.


Efficiency Tips

  • While marked as a Group 5 quest, the community consensus is that Coprous is widely soloable at level 80 in quest blues or heroic dungeon gear. The pillars make Acid Geyser completely avoidable for any class with basic awareness. The real challenge is patience: 100k HP at solo DPS output takes a few minutes.
  • Group loot: If you group up, everyone in the party gets quest credit from a single kill. One Coprous kill can complete the quest for all 5 members.
  • Clear the left side of the room first. The Plagued Fiends in the chamber can respawn during a slow solo attempt and add unwanted pressure.


Lore Context

Thassarian describes Coprous as a “powerful zombie,” but the quest text reveals a more specific interest: he wants you to fight the creature so that when the Alliance/Horde armies arrive to storm the gate, they’ll already have intelligence on what they’re facing.

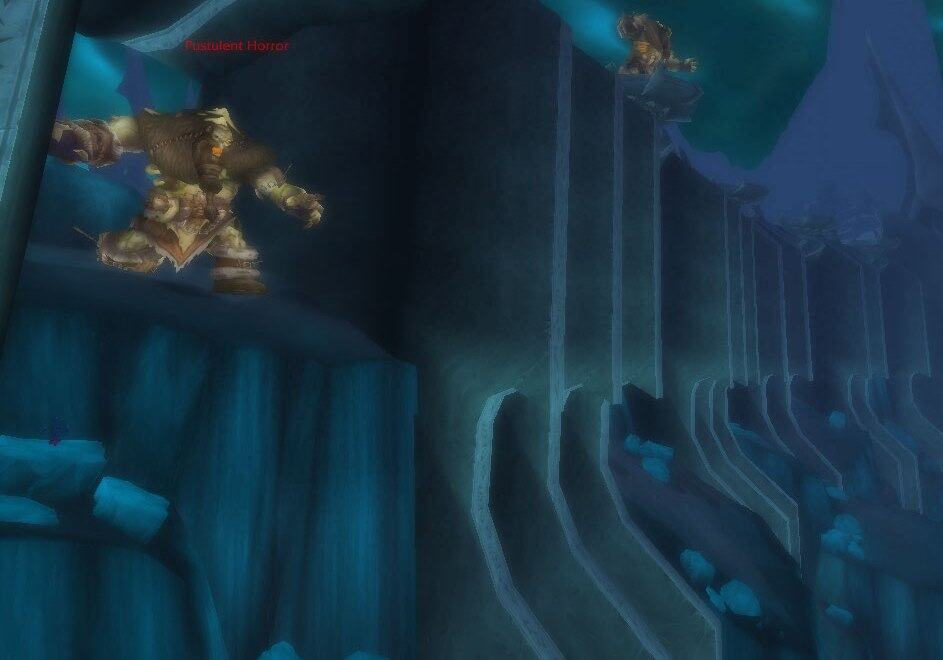
This is reconnaissance through combat, not extermination. The turn-in dialogue confirms this: Thassarian plans to study the Pustulant Spines (from Against the Giants) and the intelligence gathered from this fight to develop tactics for the eventual assault on Mord’rethar.


Explore Icecrown’s hidden easter eggs, lore mysteries, and connections across Warcraft history in Vikstone’s Icecrown Chronicles, along with the complete quest storyline.

Upon completion of this quest you will gain:
1,220 experience
10 reputation with Valiance Expedition

Warrior IconVikstone's War Journal

“Reports of a powerful zombie at the death gate have reached my ears,” Thassarian said. “We cannot allow a potential threat such as this to go unchallenged. Any information you are able to glean from engaging it will be better than what we know now. Go to the western chamber of the gate and find this creature. Fight him, and find a weakness we might exploit.”

Vikstone Portrait Act 3
Illustrated by Christian DiBari and Simon Gough.

He did not say kill it.

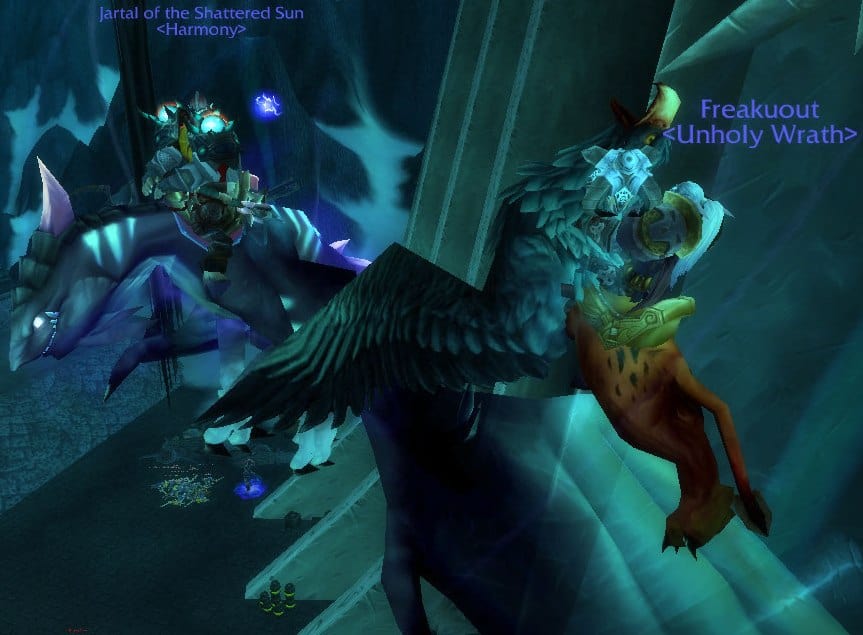
Five of us went into the western building. Wopak had his shield up before we cleared the doorway. Natea kept to the back with the Light ready. Freakuout’s runeblade put a cold on the air, and Jartal laid totems as we advanced, one every twenty feet, marking our way back out in case we needed it in a hurry.

We heard Coprous before we saw him. Wet, heavy, unhurried.

He came out of the dark filling the corridor wall to wall, and I have seen a great many abominations and this one had been built by somebody who was trying.

I took the first blow on the Titansteel Shield Wall and it moved me three feet with my boots locked. Wopak came in on the far flank before it could follow up. That is the whole of what two shields are for: it cannot commit to either of us without opening itself to the other, and a thing that big does not turn quickly enough to solve that problem.

Then the floor opened under us.

Acid comes up out of the ground where he wants it. Eight seconds, near enough, of everything in that circle burning at once, and the first spray took my legs and started on the plate. Jartal’s healing caught it a heartbeat behind and the two of them ran even for a while, damage and mending, neither gaining.

Then he put his fist through my guard and I was on the floor for two seconds that I do not remember. Freakuout stood over me while I was down. His runeblade opened the gut and the frost went into it, and by the time the world came back Wopak was still upright because Natea had not stopped working since we entered the room.

I got up inside its reach and stayed there. Wopak was doing the identical thing on the other side, both of us working the joints because that is where a thing like that is only thread.

The last geyser came up with all five of us standing in it. We stayed. Backing out of that circle meant giving up the seams.

Coprous came apart at the shoulder first and then everywhere.

Wopak sat down on the thing’s chest and spat. “Ugly bastard.”


Thassarian had the spines and now he had a corpse to reason from, and what he wanted next was not another kill but a controlled experiment, which is roughly how a death knight describes Basic Chemistry.

Share

Share this:

The Making of the Guide

Solo PvP Guide

The Guide to SWGEmu

>