Expeditions, war stories & culture

War stories, articles & game guides

Gamer

Tribute

2026

Expeditions,

War Stories &

Culture

Share
Putting the Hertz: The Valley of Lost Hope

Putting the Hertz: The Valley of Lost Hope

Quest 4 of 4 in the Infra-Green Chain (Finale) Daily Quest
Alliance • Icecrown • Level 80 • Aldur'thar Airport
Kill 50 Bombardment Infantry, 20 Gargoyle Ambushers, 12 Scourge War Machines, and 12 Frostbrood Sentries.
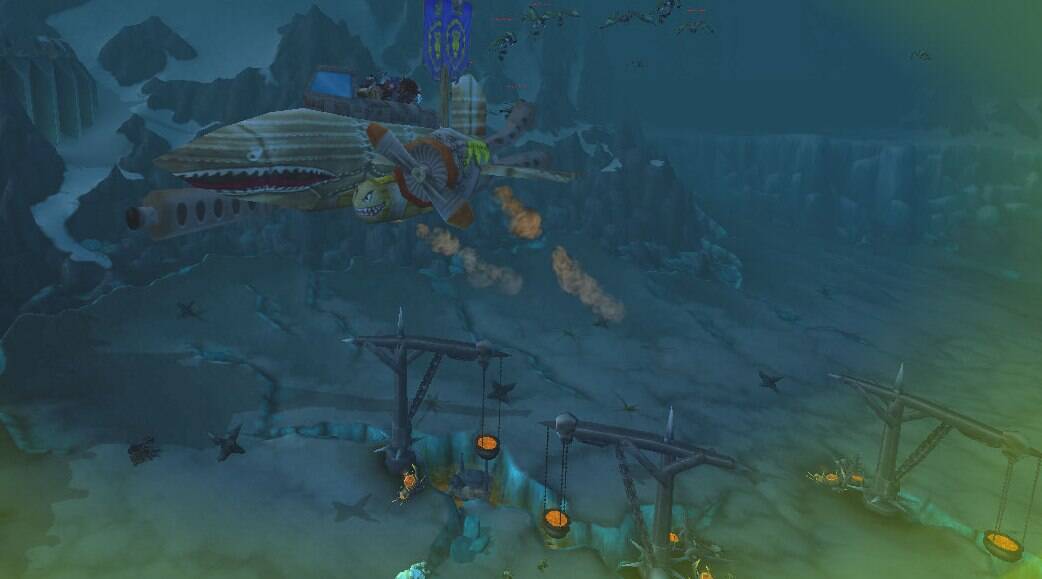
The long route, and Blizzard describes its shape plainly: gargoyles and infantry near Aldur'thar, frost wyrms and siege engines near Mord'rethar. The two new target types only appear on the far end of the run. Frostbrood Sentries hit harder than gargoyles and set the plane alight faster, so clear them first when they show. The War Machines sit on the ground near the wall and blend into the terrain badly enough to be missed entirely. Expect more than one flight.
Vikstone's Classic Expedition
Kibli asked whether the battle had been exciting and Vikstone said efficient, which was the only word for ninety-four kills delivered from a chair. The valley had been named for what happened to people who went there on foot, and he never touched the ground once.

“The fight goes on! Your new orders arrived for a long-range bombing mission through the Bombardment and into the Valley of Lost Hope — when you’re ready, ask Karen for a bomber and pour those bombs and rockets onto the Scourge!”

-Kibli Killohertz

Objective

LEVEL

80

Requires level

77

Kibli Killohertz wants you to kill 50 Bombardment Infantry, 20 Gargoyle Ambushers, 12 Scourge War Machines, and 12 Frostbrood Sentries.


Quest Giver: Found aboard The Skybreaker (Alliance) or Orgrim's Hammer (Horde).
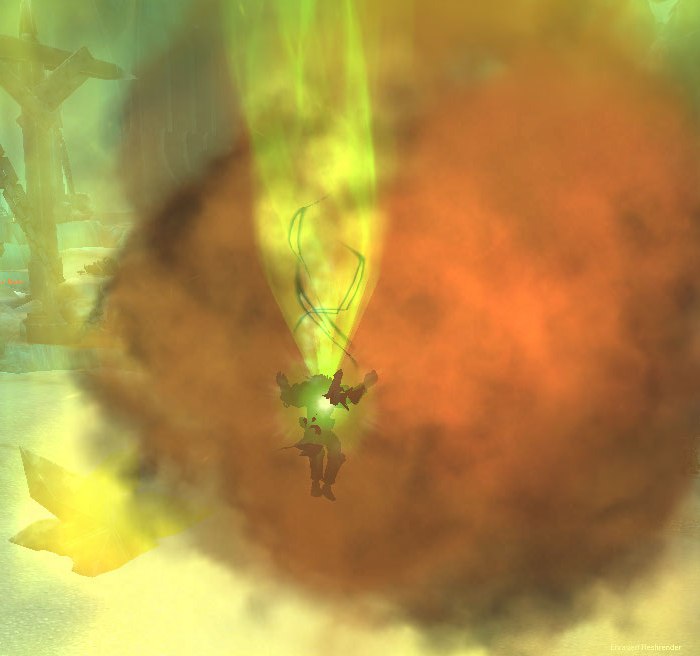
Objective: Use the bomber to destroy Scourge War Machines, Frostbrood Sentries, and other targets in the Valley of Lost Hope.
Speak to the Quest Giver:
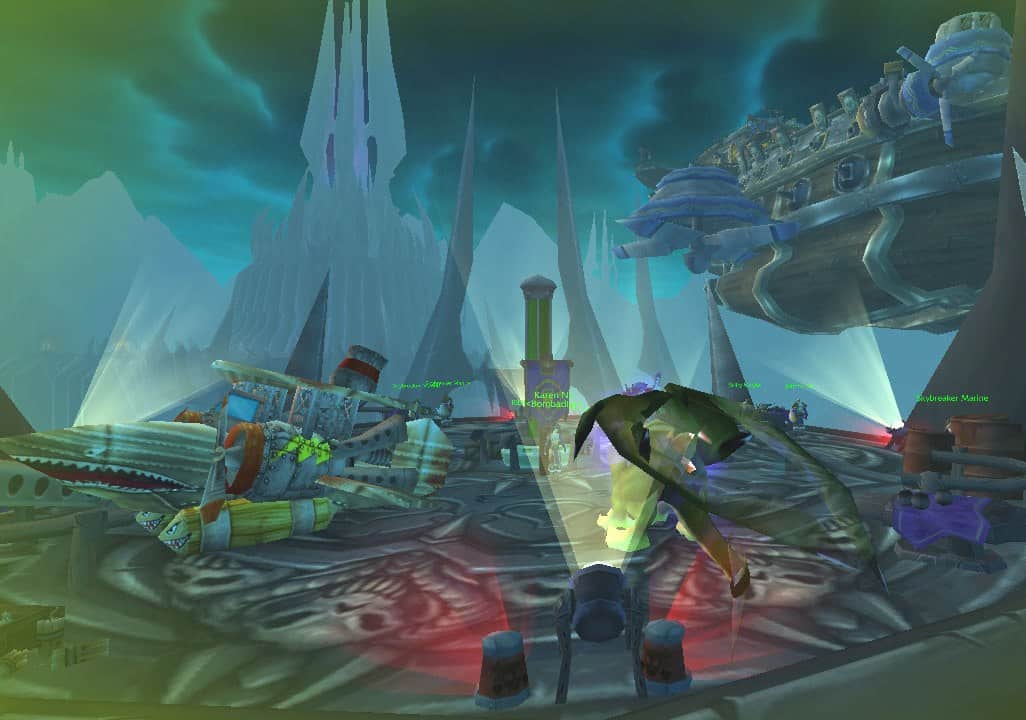
Accept the quest and speak to Kibli Killohertz to board the bomber. 
Kibli Killohertz is located at 54, 43.2 for Alliance players (The Skybreaker).
Bomber Modes:
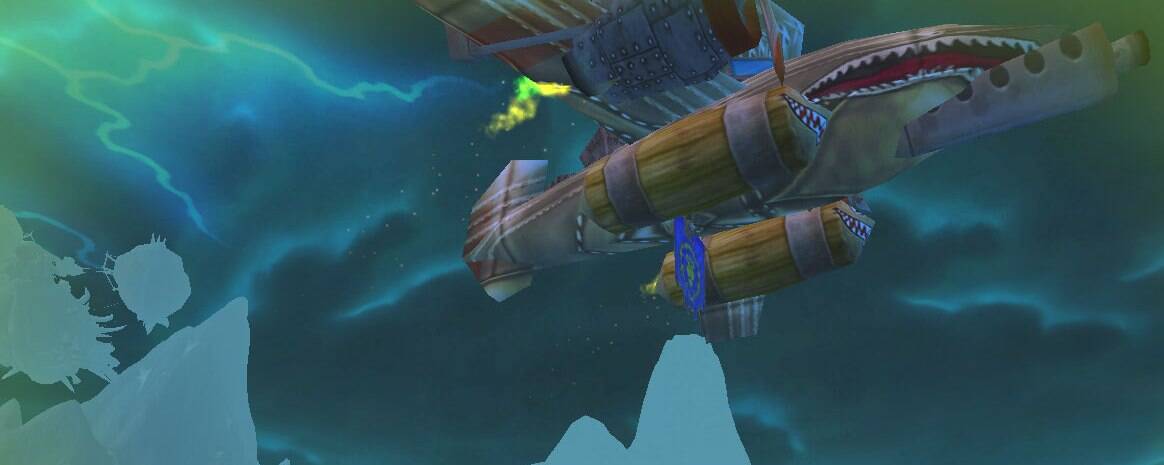
Your bomber has three functional modes:
Air-to-Ground Mode (Bombs): Use this to destroy Scourge War Machines on the ground.
Air-to-Air Mode (Missiles): Use this to shoot down Frostbrood Sentries (flying dragons) and Gargoyles.
Engineering Mode: Use to repair your bomber, put out fires, and recharge shields.
Quest Giver: Kibli Killohertz — Hidden Alliance airport above Aldur’thar [54.0, 42.9]
Speak to Karen No: Accept from Killohertz, then speak to Karen No to board the bomber. Same three-mode controls as Leading the Charge and Static Shock Troops. This is the longer bombing run that extends past The Bombardment into the Valley of Lost Hope.


Reward

You will also receive:

7 Gold

40 Silver

Upon completion of this quest you will gain:

12,190 experience
250 reputation with Valiance Expedition

Walkthrough


Quest Giver: Kibli Killohertz — Hidden Alliance airport above Aldur’thar [54.0, 42.9]

Objective: Kill 50 Bombardment Infantry, 20 Gargoyle Ambushers, 12 Frostbrood Sentries, and 12 Scourge War Machines.


Quick Facts

  • Type: Daily
  • Level: 80
  • Prerequisite: Leading the Charge
  • Horde Equivalent: Total Ohmage: The Valley of Lost Hope!
  • Added in Patch 3.3.0 on 8 December 2009, alongside the opening of Icecrown Citadel, and removed in Patch 4.1.0. The shorter daily shipped with the expansion in 3.0.2, so this extended route was a later addition.


Walkthrough

  • Accept from Killohertz, then speak to Karen No to board the bomber. Same three-mode controls as Leading the Charge and Static Shock Troops.
  • This is the longer bombing run that extends past The Bombardment into the Valley of Lost Hope. It includes everything from the shorter daily plus two new target types:
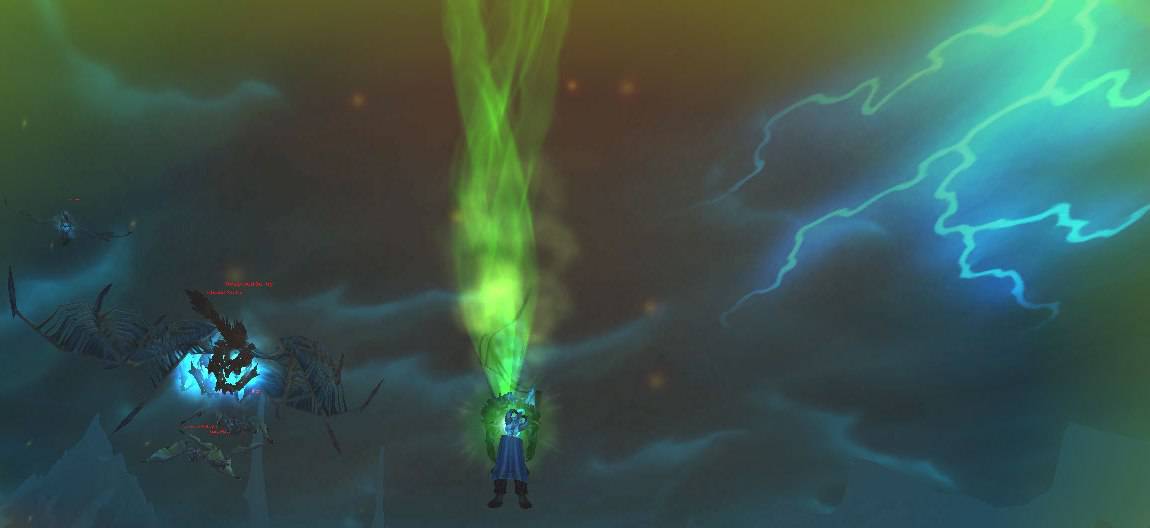
    • Frostbrood Sentries: Flying dragons that appear during the extended portion of the route. Use Air-to-Air mode (key 4) to shoot them down. They’re larger and tougher than gargoyles.
    • Scourge War Machines: Ground targets that appear near the end of the flight route, close to the wall. Use Bomber mode (key 5) to destroy them. They can be hard to spot since they blend into the terrain. Watch for them as you approach the far end of the Valley.


Bomber Controls (Quick Reference)

Key Mode Targets
4 Air-to-Air Gargoyle Ambushers, Frostbrood Sentries
5 Bomber Bombardment Infantry, Scourge War Machines
6 Engineer Repair, extinguish fires, recharge shields


Tips

  • Start in Engineer mode (key 6) and charge shields to full before engaging, same as the shorter daily.
  • Frostbrood Sentries are the biggest threat on the extended route. They deal more damage than gargoyles and can set your plane on fire faster. Prioritize them in AA mode.
  • Scourge War Machines appear late in the route. Don’t panic if you haven’t seen them early on. They’re near the wall at the end of the Valley of Lost Hope.
  • You may need multiple flights to complete all objectives. The route doesn’t always give you enough time or targets in a single pass. This is normal and expected.


Easter Egg

  • The entire Bombardment quest chain uses a consistent electrical engineering pun naming convention. Kibli Killohertz (kilohertz, unit of frequency).
  • “Putting the Hertz” (hertz, unit of frequency, punning on “putting the hurt”). “Static Shock Troops” (static electricity). “Leading the Charge” (electrical charge). The “infra-green” technology (riffing on infrared). And the Horde equivalent, “Total Ohmage” (ohm, unit of electrical resistance, punning on “total ownage”).


Lore Context

The Bombardment represents the final stage of the engineering chain that started all the way back with Boltwrench’s reverse-engineering of stolen goblin technology in Borrowed Technology.

The infra-green shields that protect these bombers were developed through that research. Thematically, you’ve gone from collecting battlefield scraps to field-testing stolen tech to commanding an air force, a progression that mirrors how the Alliance/Horde campaign in Icecrown has escalated from cautious reconnaissance to full-scale aerial warfare.


Cross-Expansion Connections

The Gunship Battle (Icecrown Citadel Raid)

  • The aerial warfare established by these quests pays off directly in the Icecrown Citadel raid. The third encounter is the Gunship Battle, where The Skybreaker and Orgrim’s Hammer, the same two airships you’ve been questing from throughout all of Icecrown, engage each other in aerial combat while approaching the Citadel.
  • Players board cannons and rocket-pack jump between the ships. The bombing skills you practiced here translate directly to raid mechanics. The Gunship Battle was widely considered one of the easier and most entertaining raid encounters in ICC, and it was often called “Loot Ship” by the community for its low difficulty and guaranteed drops.


Explore Icecrown’s hidden easter eggs, lore mysteries, and connections across Warcraft history in Vikstone’s Icecrown Chronicles, along with the complete quest storyline.

Upon completion of this quest you will gain:
1,220 experience
10 reputation with Valiance Expedition

Warrior IconVikstone's War Journal

“The fight goes on!” Kibli said. “Your new orders arrived for a long-range bombing mission through the Bombardment and into the Valley of Lost Hope. When you’re ready, ask Karen for a bomber and pour those bombs and rockets onto the Scourge!”

The run goes out past everything I have flown so far. That is the only thing about it worth writing down.

Vikstone Portrait Act 3
Illustrated by Christian DiBari and Simon Gough.

Near Aldur’thar it is infantry. Bodies in the open, no armor worth the name, standing in the numbers you stand men in when you do not intend to get any of them back. Kibli’s people have a word for that. So did every quartermaster I ever met.

Then the ground rises toward Mord’rethar and the targets change. Frostbrood sentries first, holding station over the ice on wings that should not carry them. Then the war machines, which do not run when you come in low, because there is nobody inside one to decide to.

I killed all of it. It took most of an afternoon and I was better at the last hour than the first.

“Welcome back! How was the battle? Exciting?”

“Efficient,” I said.

“Take a rest for now. But come back when you have fresh orders. For the Alliance!”


Bombing the valley flat did nothing about the fortress it led to, because Scourgeholme sits underground and the only way to take it is to walk in, which is what makes The Purging Of Scourgeholme a different kind of work entirely.

Share

Share this:

The Making of the Guide

Solo PvP Guide

The Guide to SWGEmu

>