Expeditions, war stories & culture

War stories, articles & game guides

Gamer

Tribute

2026

Expeditions,

War Stories &

Culture

Share
Static Shock Troops: the Bombardment

Static Shock Troops: the Bombardment

Quest 3 of 4 in the Infra-Green Chain Daily Quest
Alliance • Icecrown • Level 80 • Aldur'thar Airport
Kill 50 Bombardment Infantry, 10 Bombardment Captains, and 20 Gargoyle Ambushers.
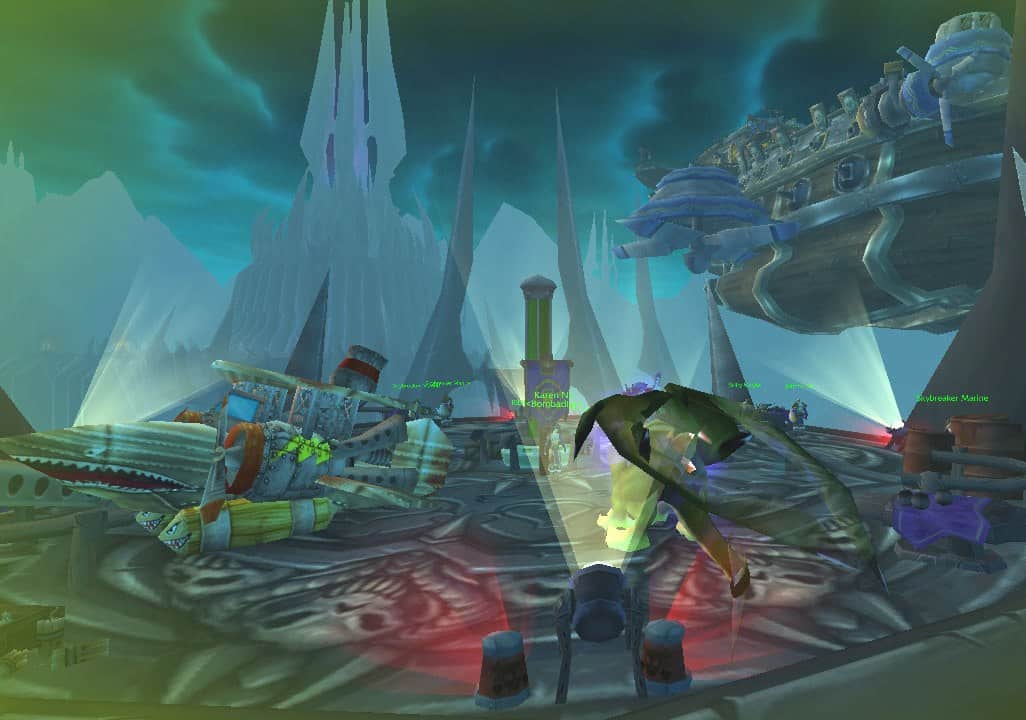
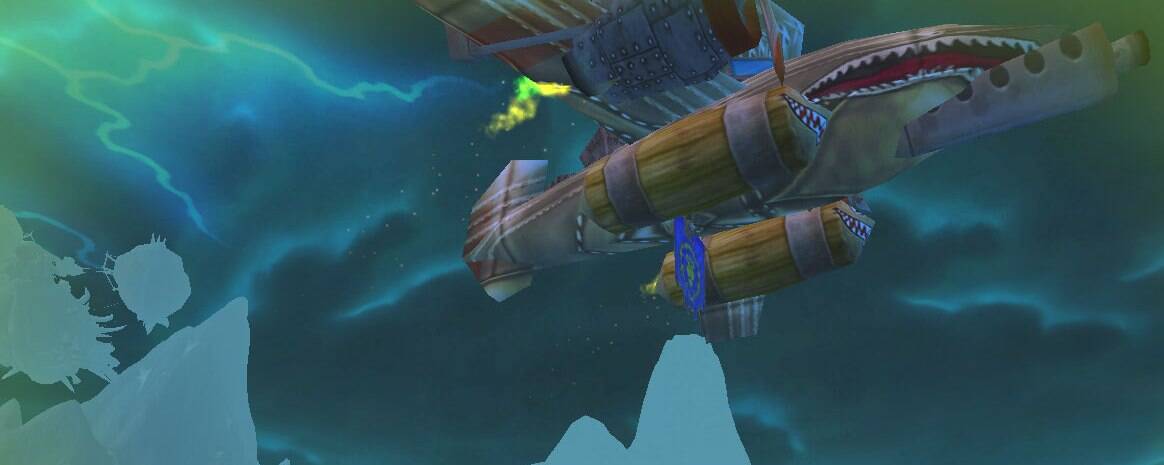
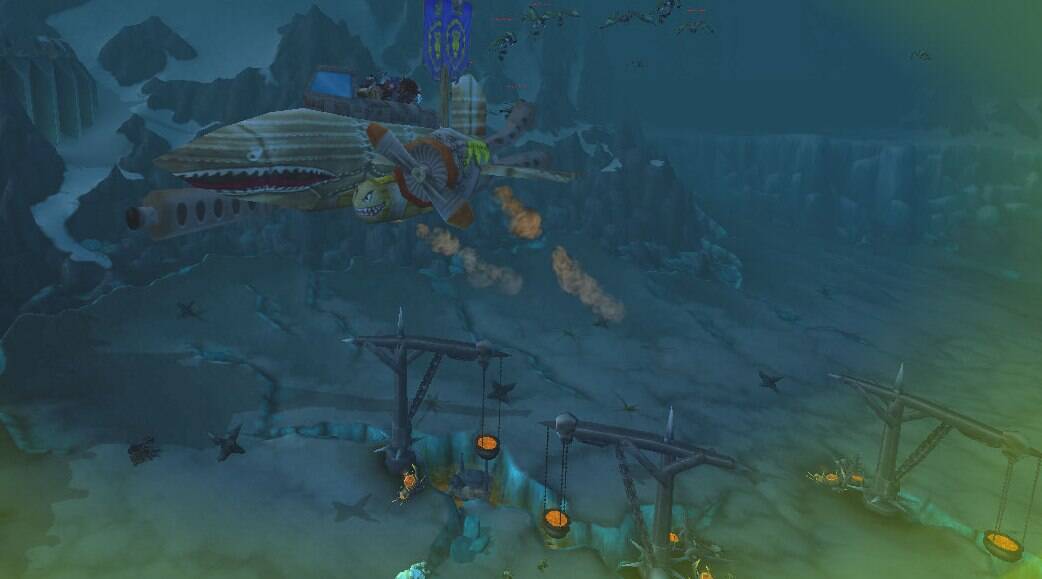
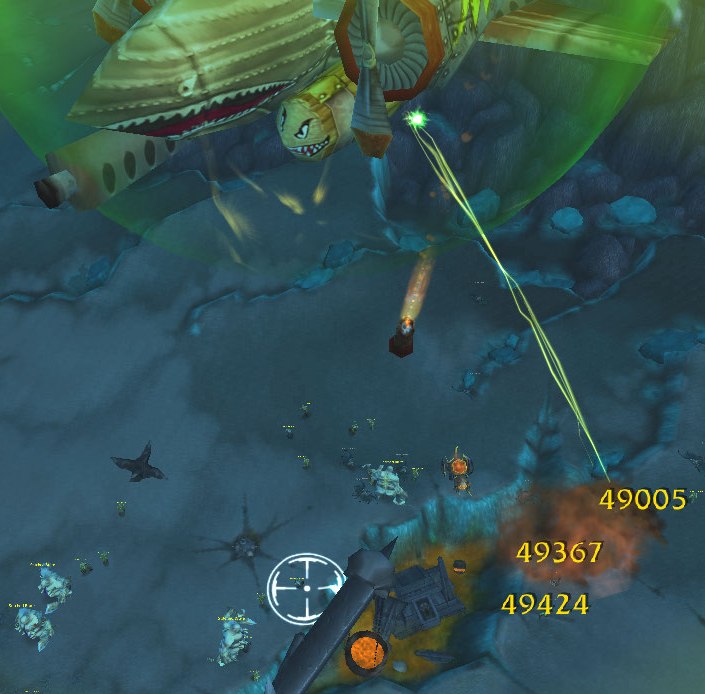
Same bomber, same airspace, and higher counts than the training run that unlocked it. Start in Engineer mode and charge the shield to full before you engage anything. Bomb the ground until gargoyles appear, switch to the turret and clear them, put out any fire, then go back to bombing. The turret also reaches ground targets, so between gargoyle waves you can keep shooting rather than swapping modes. Kibli calls it a warm up.
Vikstone's Classic Expedition
Eighty kills in a metal box, and the part Vikstone could not settle was how little any of it felt like fighting. Kibli called the mission invigorating and meant it, which was the difference between the pilot and the passenger.

“This is a short-ranged mission, over The Bombardment. A good warm up. Ready?”

-Kibli Killohertz

Objective

LEVEL

80

Requires level

77

Kibli Killohertz wants you to kill 50 Bombardment Infantry, 10 Bombardment Captains and 20 Gargoyle Ambushers.


Quest Giver: Found aboard The Skybreaker (Alliance) or Orgrim's Hammer (Horde).
Objective: Use the bomber to destroy targets in Icecrown and eliminate gargoyle attackers.
Talk to Karen No:
Located at 54, 43.2 for Alliance players, Karen No will help you board the bomber and start your mission.
Bomber Controls:
Your vehicle has three modes:
Air-to-Ground Mode (Bombs): Use to destroy Scourge War Machines and other ground targets.
Air-to-Air Mode (Missiles): Use to shoot down attacking gargoyles.
Engineering Mode: Use to repair your bomber and recharge shields.
Quest Giver: Kibli Killohertz — Hidden Alliance airport above Aldur’thar [54.0, 42.9]
Talk to Karen No: Located at 54, 43.2 for Alliance players, Karen No will help you board the bomber and start your mission.


Reward

You will also receive:

7 Gold

40 Silver

Upon completion of this quest you will gain:

12,190 experience
250 reputation with Valiance Expedition

Walkthrough


Quest Giver: Kibli Killohertz — Hidden Alliance airport above Aldur’thar [54.0, 42.9]

Objective: Kill 50 Bombardment Infantry, 10 Bombardment Captains, and 20 Gargoyle Ambushers.


Quick Facts


Walkthrough

  • Accept from Killohertz, then speak with Karen No (nearby under the same dome) to board the bomber. Same automated flight path and same three-mode controls as Leading the Charge.
  • This is described as a “short-ranged mission” over The Bombardment area. Higher kill counts than Leading the Charge (50/10/20 vs. 40/8/15) but same territory and mechanics.


Bomber Controls (Quick Reference)

Key Mode Use
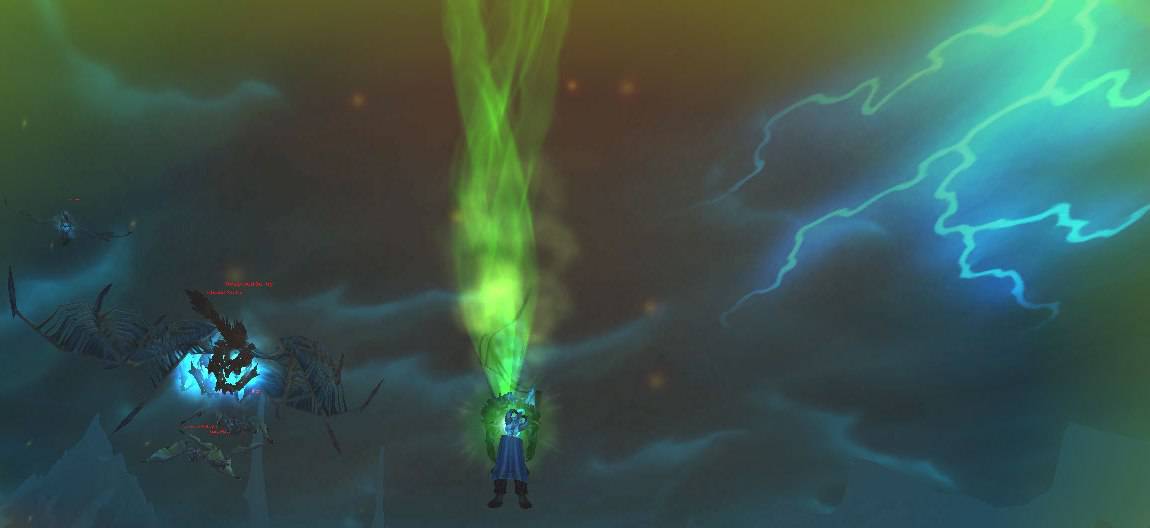
4 Air-to-Air Shoot Gargoyle Ambushers. Aim with both mouse buttons. Turn turret backward to hit the pack chasing you.
5 Bomber Drop bombs on Infantry and Captains below. Captains (stitched brutes) take 2+ bombs.
6 Engineer Repair plane, extinguish fires, recharge shields.


Recommended Strategy

  1. Start in Engineer mode (key 6) and charge your shield to full stacks before engaging.
  2. Switch to Bomber mode (key 5) and start clearing ground targets.
  3. When gargoyles appear, switch to Air-to-Air (key 4), clear them, then switch to Engineer if you caught fire.
  4. Once fires are out and shield is recharged, return to bombing.
  5. Repeat until all kill objectives are met.


Tips

  • The AA turret can hit ground targets too. If you’re between gargoyle waves and don’t want to switch modes, just shoot downward with the turret.
  • The shield timer is displayed in the top-right corner of your screen. Keep an eye on it and recharge via Engineer mode whenever it drops low.
  • If the vehicle UI stops responding mid-flight (a known intermittent bug), ride it out and try again on the next flight. Disabling unit frame addons like XPerl can help prevent this.


Return before you finish and Kibli’s encouragement carries a shipped typo Blizzard never fixed: “Keep at the, . The air battle won’t win itself!”


Explore Icecrown’s hidden easter eggs, lore mysteries, and connections across Warcraft history in Vikstone’s Icecrown Chronicles, along with the complete quest storyline.

Upon completion of this quest you will gain:
1,220 experience
10 reputation with Valiance Expedition

Warrior IconVikstone's War Journal

“This is a short-ranged mission, over The Bombardment. A good warm up. Ready?”

I have flown this exact sortie once. That was yesterday. Today there are more of them down there than there were yesterday, which tells you what the Bombardment is: not a battle but a supply, and we are not reducing it, we are drawing off the top of it.

The flying was the same. I will not set it down again. What was different was that I did not have to think about the switching, and somewhere over the second pass I caught myself watching the captains rather than the infantry, because a captain holds a formation together and a formation is worth three bombs where a scattered mob is worth one.

Vikstone Portrait Act 3
Illustrated by Christian DiBari and Simon Gough.

“Keep at it! The air battle won’t win itself!” Kibli’s voice came through while I was still over the ice, cheerful and entirely unbothered by whether I was listening.

The gargoyles came up late in the run, the way they always do, and I put the gun on them without deciding to.

“Welcome back! A short mission, but invigorating, yes? Take a rest for now. But come back when you have fresh orders.”

Fresh orders. He said the same yesterday. He will say it tomorrow, in the same order, in the same tone, standing in the same place on a tower we are all pretending nobody can see.


The warm up was over and the fresh orders Kibli kept promising sent the bomber further out, past the Bombardment and over ground the Scourge had named for what happened to the people who went there, in Putting the Hertz: The Valley of Lost Hope.
Share

Share this:

The Making of the Guide

Solo PvP Guide

The Guide to SWGEmu

>