Expeditions, war stories & culture

War stories, articles & game guides

Gamer

Tribute

2026

Expeditions,

War Stories &

Culture

Share

Shatter the Shards

Quest 3 of 4 in the Corp'rethar Approach Chain Group Quest
Both Factions • Icecrown • Level 80 • The Skybreaker
Destroy the Shards of Horror, Despair, and Suffering atop Corp'rethar.
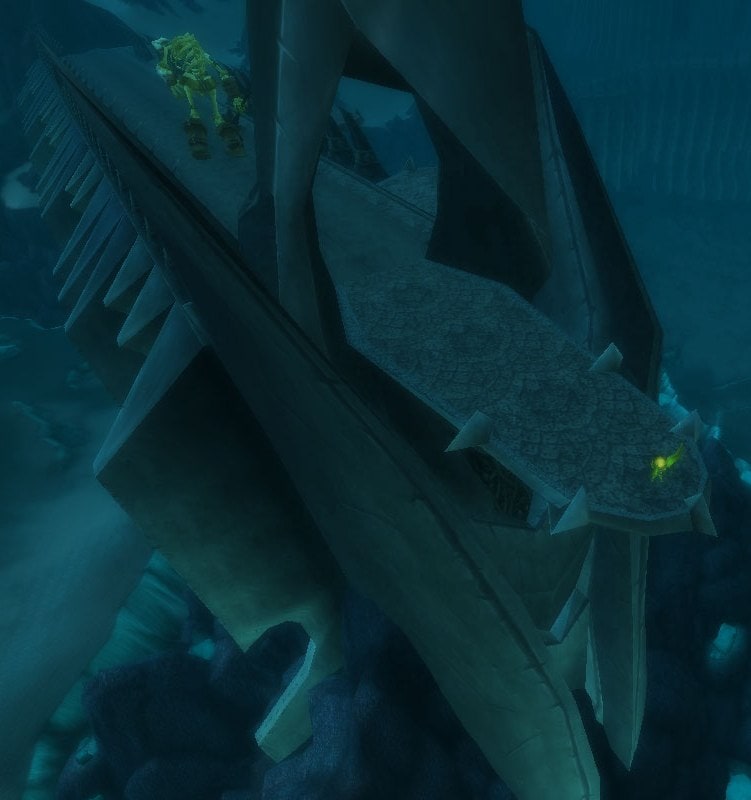
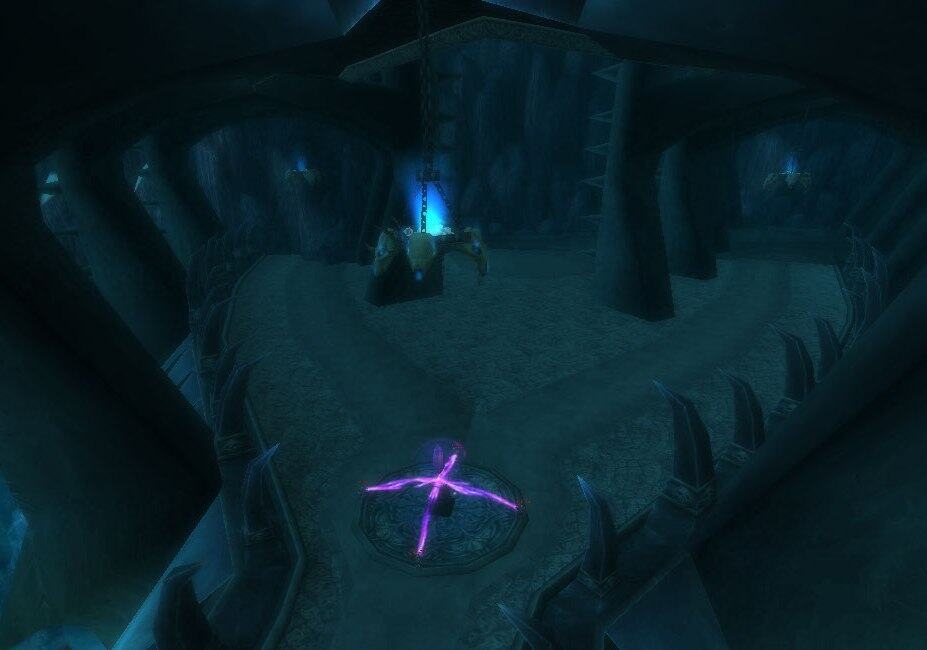
Horror sits on the top rampart at 47.7, 68.6, with Despair and Suffering both a floor below at 50, 67.6 and 46, 70. Each crystal is guarded and the channel breaks if anything hits you, so clear the surrounding pull completely before you start. Getting knocked off a rampart mid-channel is the usual way this goes wrong. Fly between the three rather than walking the ramps.
Vikstone's Classic Expedition
Calvey had been smiling since she stepped off the Skybreaker and the Shard of Suffering took it off her face in about four seconds. Thassarian went quiet when Vikstone handed him the pieces and said only that he remembered them, which was not the same as saying he had been on the other end.

“Atop the battlements of Corp’rethar, the Lich King’s minions have erected three crystals, the shards of horror, despair, and suffering. Should our men reach the walls of Corp’rethar, he will unleash these weapons on our army. In full effect, the crystals will afflict the minds of our men with paralyzing pain and fear. Then, the Scourge will be able to slaughter them at will.

Find these shards, destroy them, and bring me their broken remains. We cannot allow the Lich King to deploy these weapons!”

-Thassarian

Objective

LEVEL

80

Requires level

77

Start

Bring the Broken Shard of Horror, the Broken Shard of Despair, and the Broken Shard of Suffering to Thassarian, aboard the Skybreaker.

  • Broken Shard of Horror
  • Broken Shard of Despair
  • Broken Shard of Suffering


Suggested players: 5


Objective:
Destroy three shards located in the area around Corp'rethar, the Horror Gate:
Horror Shard at 47.7, 68.6 (on top of the ramparts).
Despair Shard at 50.0, 67.6 (on the floor below the ramparts).
Suffering Shard at 46.0, 70.0 (same floor as Despair).

Walkthrough
1. Finding the Shards
The shards are guarded by Cultist Shard Watchers, who cast Unstable Affliction but can be solo pulled. They have ~10,000 HP and are easy to defeat for most classes.
Horror Shard: Found on the top ramparts of Corp’rethar.
Despair Shard & Suffering Shard: Found on the lower floors of the ramparts.
Quest Giver: Thassarian (Alliance, aboard The Skybreaker)/Koltira Deathweaver (Horde, aboard Orgrim’s Hammer)
Horror Shard at 47.7, 68.6 (on top of the ramparts).
Despair Shard at 50.0, 67.6 (on the floor below the ramparts).
Suffering Shard at 46.0, 70.0 (same floor as Despair).


Reward

You will be able to choose one of these rewards:

You will also receive:

7 Gold

40 Silver

Upon completion of this quest you will gain:

27,550 experience
350 reputation with Knights of the Ebon Blade

Walkthrough


Quest Giver: Thassarian (Alliance, aboard The Skybreaker)/Koltira Deathweaver (Horde, aboard Orgrim’s Hammer)

Objective: Destroy three crystals on the battlements of Corp’rethar: The Horror Gate and bring the Broken Shard of Horror, Broken Shard of Despair, and Broken Shard of Suffering to your quest giver.


Quick Facts


Walkthrough

Reach the Corp’rethar Battlements

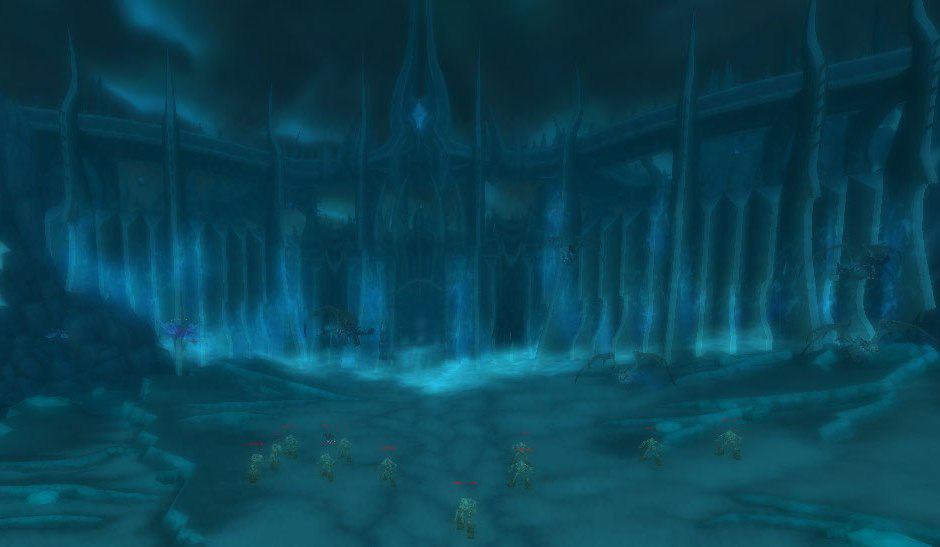
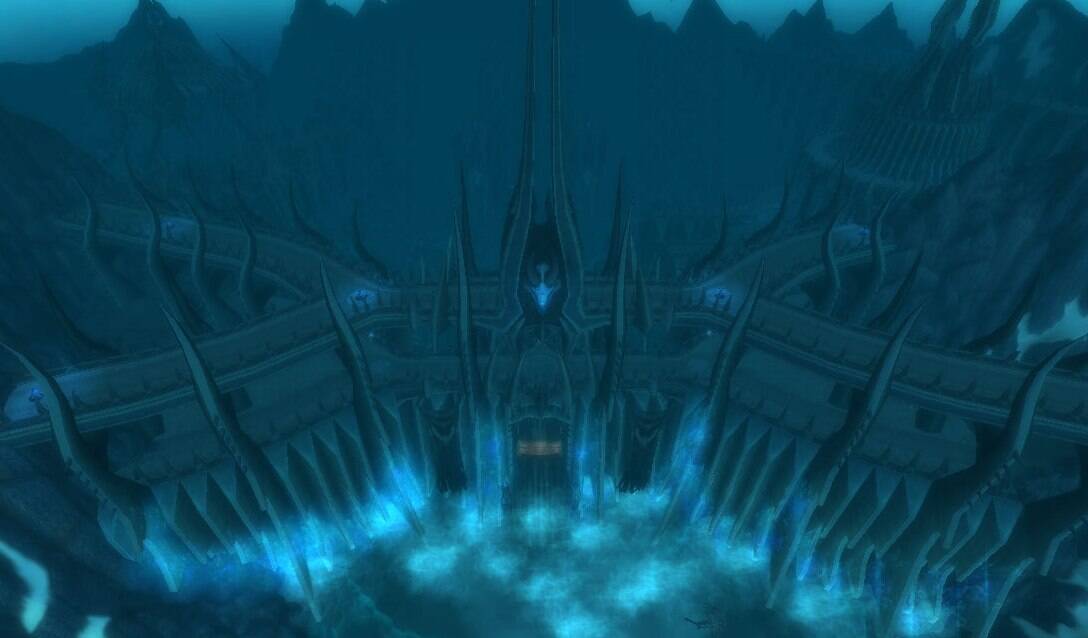
  • Fly to Corp’rethar: The Horror Gate, south of the Ironwall Rampart. The three crystals are located on the rampart walls themselves, not on the ground. You need to land on the battlements.


Destroy the Three Shards

  • Click each shard to destroy it and receive the broken fragment. The shards are interactable objects, not mobs. No combat required to destroy them (though guards nearby will need to be dealt with or avoided).


Shard Location Level
Shard of Horror Top of the ramparts [47.7, 68.6] Upper battlements
Shard of Despair Lower floor below ramparts [50.0, 67.6] Lower battlements
Shard of Suffering Lower floor [46.0, 70.0] Lower battlements


  • The Shard of Horror is on the upper level. The Shards of Despair and Suffering are both on the lower level of the battlements.
  • Destroying a shard does not aggro nearby mobs. You only need to clear enough enemies to reach the shard and click it safely.


Turn In

  • Return to Thassarian aboard The Skybreaker (Alliance) or Koltira aboard Orgrim’s Hammer (Horde).


Combat Tips

The real challenge is not the shards themselves but the Corp’rethar defenders you will encounter on the ramparts (shared with the companion quest The Guardians of Corp’rethar):

Enemy Threat Level Key Danger
Rampart guards (non-elite) Low Standard trash; minimal HP, easily dispatched
Harbinger of Horror (elite) Medium Knockback ability with Chill Nova that can punt you off the ramparts
Corp’rethar Guardians (elite) High Mortal Wound, a Mortal Strike-like debuff that stacks indefinitely (similar to Gluth); dangerous in prolonged fights
Patrolling elite High Slow-patrolling elite that walks the full length of the rampart wall; very high HP, hits hard


  • Watch the knockback. Harbingers of Horror can knock you off the rampart entirely. Position with your back to the inner wall, not the outer edge.
  • The Mortal Wound stacks. Corp’rethar Guardians apply a healing reduction debuff that stacks without limit. If you are soloing as a self-healing class, burn them fast before stacks accumulate.
  • The patrolling elite walks the full length of the wall very slowly. Time your shard destruction around its position. You can easily clear the four guards near a shard, destroy it, and move on before the patrol returns.
  • Druids: You can destroy the shards while in Flight Form without leaving flight. Land on the shard, click it, and fly away. This trivializes the quest entirely, making it a sub-minute completion with zero combat.
  • General: If you are doing this alongside The Guardians of Corp’rethar (which requires killing 5 Harbingers and 5 Corp’rethar Guardians), plan your route to clear guards on the way to each shard.


Efficiency Tips

  • Pick up The Guardians of Corp’rethar at the same time. Both quests share the same location and you will naturally complete both objectives on one trip through the ramparts.
  • Start at the upper battlements for the Shard of Horror, then drop to the lower level for the Shards of Despair and Suffering.


Lore Context

The shards are necromantic crystals designed to afflict approaching soldiers with paralyzing horror, despair, and suffering, softening them for the Scourge to slaughter. The quest text notes that both Thassarian and Koltira recognize these weapons personally, saying in a quiet voice that they “remember these.”

Given that both were death knights under the Lich King’s control before their liberation, this implies they either witnessed or were subjected to these same crystals during their service to the Scourge. It is a brief but telling moment of vulnerability from two otherwise stoic characters.

These two quests (Shatter the Shards + The Guardians of Corp’rethar) represent the final quests in the Thassarian/Koltira airship chain, and the farthest point of the Aldur’thar progression line. Completing them counts toward the “Corp’rethar: The Horror Gate” chapter of Icecrown: The Final Goal.


Explore Icecrown’s hidden easter eggs, lore mysteries, and connections across Warcraft history in Vikstone’s Icecrown Chronicles, along with the complete quest storyline.

Upon completion of this quest you will gain:
1,220 experience
10 reputation with Valiance Expedition

Warrior IconVikstone's War Journal

“Atop the battlements of Corp’rethar, the Lich King’s minions have erected three crystals, the shards of horror, despair, and suffering. Should our men reach the walls of Corp’rethar, he will unleash these weapons on our army. In full effect, the crystals will afflict the minds of our men with paralyzing pain and fear. Then, the Scourge will be able to slaughter them at will. Find these shards, destroy them, and bring me their broken remains. We cannot allow the Lich King to deploy these weapons!”

Vikstone Portrait Act 3
Illustrated by Christian DiBari and Simon Gough.

Wopak came, and a druid called Hibiscus, and a draenei hunter named Calvey who had not stopped smiling since she came off the Skybreaker. I had wondered how long this country would need for that.

The Shard of Horror stands on the highest rampart. The guardians around it feel nothing and fear nothing, so Wopak and I took the front while Hibiscus kept us standing and Calvey cleared the walkway ahead.

Calvey had stopped smiling. “What was that?”

“Motivation,” Wopak said. “Keep moving.”

Despair and Suffering are both on the floor below, at opposite ends of it, so we went down and worked our way across.

Despair reaches you before you reach it. It does not frighten you. It explains, patiently, that the Citadel has stood ten thousand years and that no army has ever taken it and that nothing anyone does here will matter. Hibiscus stumbled first, which I understood; there is nothing living in Corp’rethar for a druid to hold on to. Wopak took the back of her armor and walked her forward.

Suffering gives you back every wound you have ever taken, all of them at once, in the places they were. Wopak went down on one knee holding a shoulder that healed months ago. Calvey pressed a hand to her side.

I had a year of Northrend arrive in me at once and I stayed on my feet. I have simply been carrying most of it already.

The crystal burst and the battlement went quiet. Calvey straightened, checked herself over, found nothing.

“I don’t like this place,” she said.

“Nobody does. That is how you know you are still yourself.”

Thassarian took the shards from me and spoke in a quiet voice.

“I remember these… Lesser men would easily crumble beneath their assault. You have done well in removing their threat.”

He did not say from which side.


The army could reach the walls now without being unmade on the way, which left only the things standing on the walls themselves, three of them, older than the gate and put there for exactly this, The Guardians of Corp’rethar.

Share

Share this:

The Making of the Guide

Solo PvP Guide

The Guide to SWGEmu

>