Expeditions, war stories & culture

War stories, articles & game guides

Gamer

Tribute

2026

Expeditions,

War Stories &

Culture

Share
Putting Olakin Back Together Again

Putting Olakin Back Together Again

Quest 2 of 3 in the Olakin Recovery Chain
Both Factions • Icecrown • Level 80 • Blackwatch
Find a Spool of Thread and the Doctor's Cleaver, then use Olakin's remains at the Sanctum of Reanimation Slab.
Same cave as the Patches rescue, entrance at 34, 68. Turn left immediately for the thread, which sits on a table in the alcove northwest of the entrance around 34, 66. The cleaver is on a lab bench deeper in and lower down, so drop to it rather than walking the ramp twice. The Slab sits between the two on the ledge overlooking the workshop. Stand next to it and use Crusader Olakin's Remains from your bags to fire the event. The Scourge mobs in here did not leave when the zone phased, and the corridors are tight enough to pull two groups by accident.
Vikstone's Classic Expedition
The thread was the Scourge's, the cleaver was the Scourge's, and the slab had been built for exactly this kind of work by people who did it every day. What stood up afterward answered to Olakin's name.

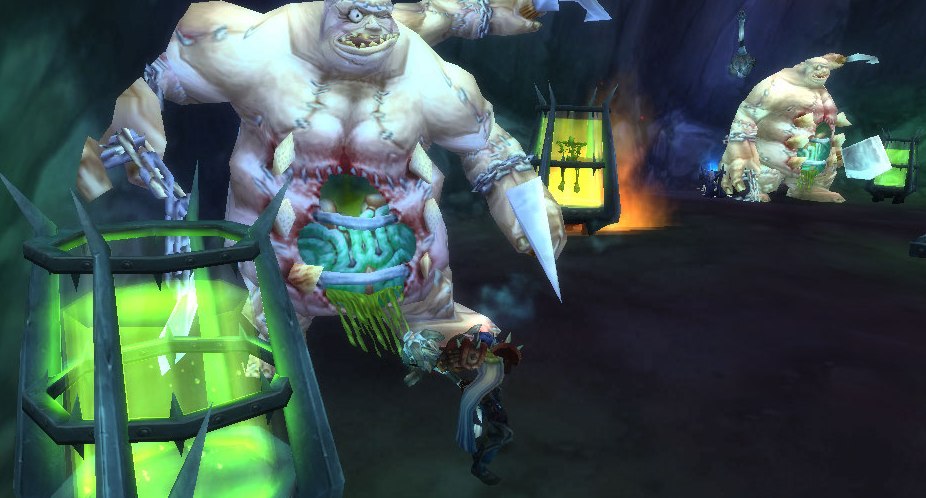
“We can’t afford to waste any time putting Olakin back together. Fortunately, the Scourge has provided a perfect place for you to stitch him back together. Near the Fleshwerks’ flesh giant lab is the Sanctum of Reanimation.

Search the area for a spool of thread and the doctor’s cleaver. Then, take Olakin’s remains to the large slab in the middle of the sanctum and get to work.”

-Darkrider Ally

Objective

LEVEL

80

Requires level

77

Obtain a Spool of Thread and the Doctor’s Cleaver, then take them to the Sanctum of Reanimation Slab and use Olakin’s remains to attempt to reanimate the crusader. Return to Darkrider Arly at Blackwatch when this task is complete.


Provided item:

  • Crusader Olakin’s Remains


Quest Objective:
Collect the following items from the cave at 34,68:
Spool of Thread
Doctor's Cleaver
Use Crusader Olakin’s Remains at the Large Slab to reassemble him.
Enter the Cave
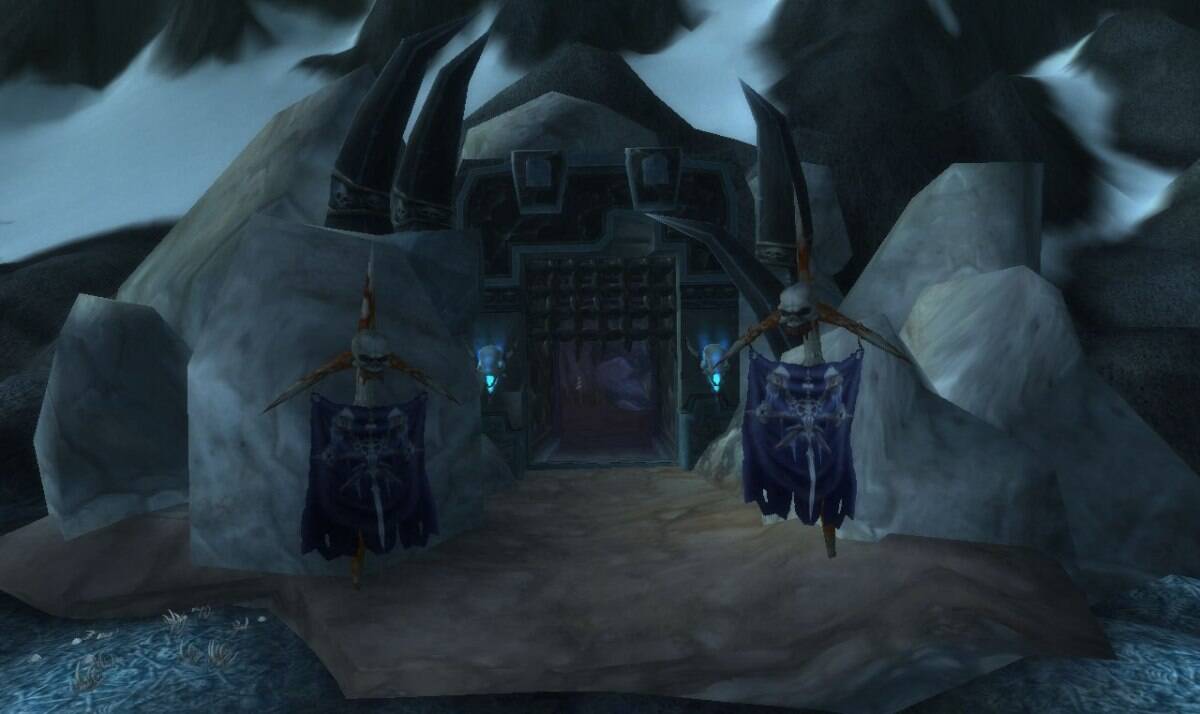
Go back into the same cave where you freed Patches during the earlier quest "A Visit to the Doctor." The entrance is located at 34,68.
2. Find the Spool of Thread
After entering the cave, turn left into the small side room.
The Spool of Thread is on a table within the room. Coordinates: 35,66.
3. Retrieve the Doctor’s Cleaver
Exit the small room and continue down the tunnel toward the laboratory area.
The Doctor’s Cleaver is located at the far end of the lab near some equipment. Coordinates: 37,68.
4. Locate the Large Slab
The Large Slab is a dark granite platform situated near the cave entrance, overlooking the lab area. Coordinates: 36,67.
5. Use Crusader Olakin’s Remains
Stand near the Large Slab and click on the Crusader Olakin’s Remains in your inventory to trigger the event.
This will reassemble Olakin, completing the ritual.
Quest Giver: Darkrider Arly — Blackwatch, Icecrown [35, 66]
Enter the Cave: Head back into the same cave you used during A Visit to the Doctor (where you freed Patches). The entrance is at [34, 68], in the flesh giant lab area of the Fleshwerks
Find the Spool of Thread: After entering the cave, turn left into the small alcove. The Spool of Thread sits on a table inside. [35, 66]
Retrieve the Doctor’s Cleaver: Continue past the alcove and head down into the laboratory area at the back of the cave. The Cleaver is on one of the lab tables near the equipment. [37, 67]


Reward

You will also receive:

7 Gold

40 Silver

Upon completion of this quest you will gain:

12,190 experience
250 reputation with Knights of the Ebon Blade

Walkthrough


Quest Giver: Darkrider Arly — Blackwatch, Icecrown [35, 66]

Objective: Obtain a Spool of Thread and The Doctor’s Cleaver, then use Crusader Olakin’s Remains at the Sanctum of Reanimation Slab to reassemble the crusader. Return to Darkrider Arly.


Quick Facts


Walkthrough

Enter the Sanctum of Reanimation

  • Head back into the same cave you used during A Visit to the Doctor (where you freed Patches). The entrance is at [34, 68], in the flesh giant lab area of the Fleshwerks.


Collect the Spool of Thread

  • After entering the cave, turn left into the small alcove. The Spool of Thread sits on a table inside. [35, 66]


Grab the Doctor’s Cleaver

  • Continue past the alcove and head down into the laboratory area at the back of the cave. The Cleaver is on one of the lab tables near the equipment. [37, 67]


Use Olakin’s Remains at the Slab

  • The Large Slab is a dark granite platform on the ledge between the thread alcove and the lab area, near the cave entrance overlooking the workshop below. [36, 67]
  • Stand near the Slab and use Crusader Olakin’s Remains from your inventory to trigger the reassembly event.
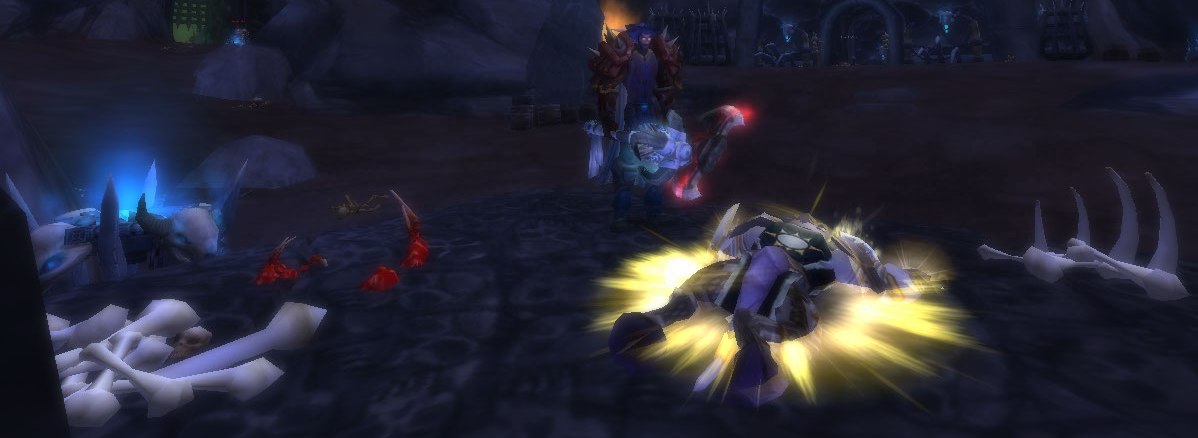
  • Crusader Olakin Sainrith is restored with a Holy Light effect. He delivers a short speech and heads off to rejoin the fight.


Return to Darkrider Arly at Blackwatch [35, 66] to complete the quest.


Efficiency Tips

  • Optimal route: Grab the Thread first (left at the entrance), then jump down to the lab below to get the Cleaver, then clear your way back up toward the entrance and use the Remains at the Slab. This avoids unnecessary backtracking.
  • Warlocks: Place a Demonic Circle at the Slab before heading down. After collecting both items, teleport back up.
  • Watch your pulls: The cave still contains Scourge mobs. Pull carefully if you’re undergeared or lack AoE. The space is tight enough for accidental multi-pulls.
  • Do alongside: This quest runs concurrently with the broader Fleshwerks assault chain. If you still have By Fire Be Purged or Killing Two Scourge With One Skeleton objectives, clear those on your way through.


Lore & Secrets

The Fleshwerks Rescue

Crusader Olakin Sainrith is a draenei member of the Argent Crusade, assigned to coordinate the joint Crusade/Ebon Blade assault on the Fleshwerks.

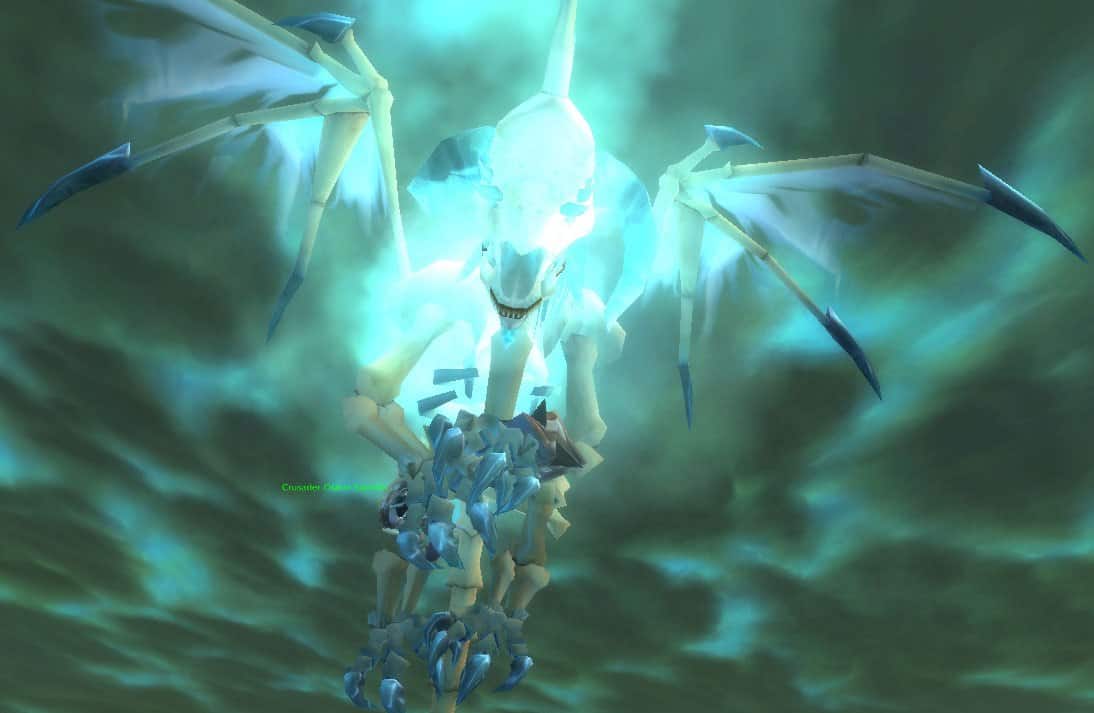
He was snatched by the frostwyrm Ghostwing during the previous quest chain, dismembered, and his parts used to build abominations. Despite being literally torn apart and stitched back together with a spool of thread and a cleaver, he walks away in perfect health.

Darkrider Arly’s reaction captures the absurdity well: she warns Olakin that “no amount of thread and heroism will save him a second time.”

Notably, the previous quest (He’s Gone to Pieces) only has you recover a torso, legs, a left arm, and a right arm. No head. Olakin reassembles just fine anyway.

Darkrider Arly is one of the game’s few gnome death knights, and one of the even fewer with pink hair. Her dry, sarcastic personality throughout the Fleshwerks chain contrasts sharply with the Argent Crusade’s earnest tone, reflecting the uneasy alliance between the two factions.


Humpty Dumpty

  • The quest name, “Putting Olakin Back Together Again,” is a nod to the Humpty Dumpty nursery rhyme (“All the king’s horses and all the king’s men/Couldn’t put Humpty together again”). Unlike Humpty, the player actually succeeds, though the method is questionable at best.


Explore Icecrown’s hidden easter eggs, lore mysteries, and connections across Warcraft history in Vikstone’s Icecrown Chronicles, along with the complete quest storyline.

Upon completion of this quest you will gain:
6,100 experience
75 reputation with Knights of the Ebon Blade

Warrior IconVikstone's War Journal

“We can’t afford to waste any time putting Olakin back together. Fortunately, the Scourge has provided a perfect place for you to stitch him back together. Near the Fleshwerks’ flesh giant lab is the Sanctum of Reanimation. Search the area for a spool of thread and the doctor’s cleaver. Then, take Olakin’s remains to the large slab in the middle of the sanctum and get to work.”

Vikstone Portrait Act 3
Illustrated by Christian DiBari and Simon Gough.

The doctor’s cleaver. Sabnok’s. I had been in that room already, and what I had done there was break a stake and step back and let something else finish him while I kept my hands to myself. Now the order was to go down and pick the man’s instruments up off the floor.

The thread was in an alcove to the northwest, wound as neatly as anything on a shelf in Darnassus. The cleaver was still lying where Sabnok had been standing. The slab sits in the middle of the sanctum and it is the largest thing in the room. Up close the stone was not stained so much as saturated.

I laid Crusader Olakin out in order. Torso, legs, then the arms, and I checked the arms twice, because I had not spent that long looking for the second one to set it on the wrong side.

Then I took up a dead ghoul’s cleaver and a dead ghoul’s thread and did the work by hand.

It was close work and it went slowly, and my hands were steady the whole way through. The orders said attempt. Nobody had thought to tell me what to do if it did not take.

It took. He came up off that stone with breath in him, which is not what the slab was built to produce, and he stood, and he looked at me for a while without saying anything at all. I waited longer than I should have.

“Olakin should consider himself fortunate. No one is rescued from the Scourge, no one. No amount of thread and heroism will save him a second time. I’ll make certain he remembers it.”

I believed her.


Olakin was back on his feet just in time to point Vikstone at The Flesh Giant Champion, the last thing the Fleshwerks had left to send up the ridge.

Share

Share this:

The Making of the Guide

Solo PvP Guide

The Guide to SWGEmu

>