Expeditions, war stories & culture

War stories, articles & game guides

Gamer

Tribute

2026

Expeditions,

War Stories &

Culture

Share

Really Big Worm

Quest 2 of 2 in the Ice Heart Cavern Chain (Finale)
Group Quest
Alliance • Dragonblight • Level 74 • Ice Heart Cavern
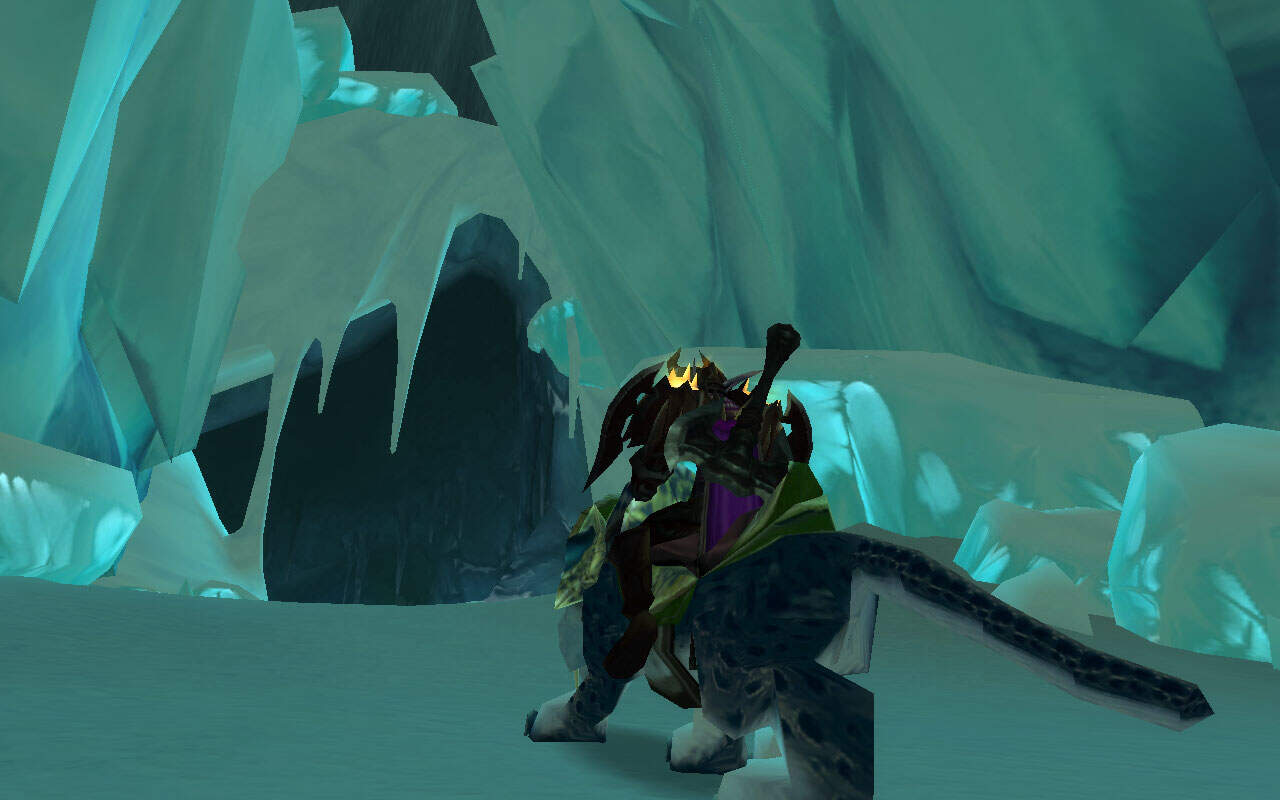
Enter Ice Heart Cavern and slay the brood mother Rattlebore in the deepest chamber. Suggested 3 players.
Use Zort's Protective Elixir before entering (from Apply This Twice A Day). Clear the entire path to Rattlebore's chamber and the small worms around her before pulling. She's a level 74 elite (~71k-100k HP), immune to all CC, and hits plate for 1,000-2,000 per swing with armor reduction and damage debuffs. Soloable by self-healing tanks or via DoT-and-kite (she moves at ~80-90% run speed), but a group makes it clean.
Vikstone's Classic Expedition
A human warrior named Aswin answered the call, looked at the cave mouth, and shrugged like he'd seen worse. They exchanged a nod and nothing more, then went in after something large enough to make a frost giant's bones shiver.

“The jormungar have a spawnmother in the caverns below. We call her Rattlebore – a name that was gifted to her by an adventurer from the Plaguelands. I saw her only briefly as I was fighting off their initial onslaught – she is large enough to devour one of my young whole. This cavern will not be ours until she is removed from it.”

-Ko’char the Unbreakable

Objective

LEVEL

74

Requires level

72

Enter the Ice Heart Cavern and slay Rattlebore. If it is still in your possession, be sure to use Zort’s Protective Elixir to protect you from the Jormungar’s corrosive spit. Return to Ko’char the Unbreakable in the Crystal Vice when the task is complete.


Quest Giver: Ko'char the Unbreakable, after completing Apply This Twice a Day and possibly Slim Pickings.
Objective: Defeat Rattlebore, the Jormungar broodmother, and return to Ko'char.
Location: Ice Heart Cavern (Entrance: 57.5, 12.4).

Reward

You will also receive: (if completed at level 90)

16 Gold

80 Silver

Upon completion of this quest you will gain:

31,150 experience
350 reputation with The Kalu’ak

Walkthrough


Quest Giver: Ko’char the Unbreakable — Crystal Vice, Dragonblight [59, 18]

Objective: Enter Ice Heart Cavern and slay Rattlebore. Return to Ko’char when the task is complete.


Quick Facts


Walkthrough

Preparation

  • Use Zort’s Protective Elixir before entering the cavern. You receive this from the Apply This Twice A Day quest. It helps counteract the jormungar corrosive spit debuffs on the way in and during the fight itself. The buff lasts 30 minutes.
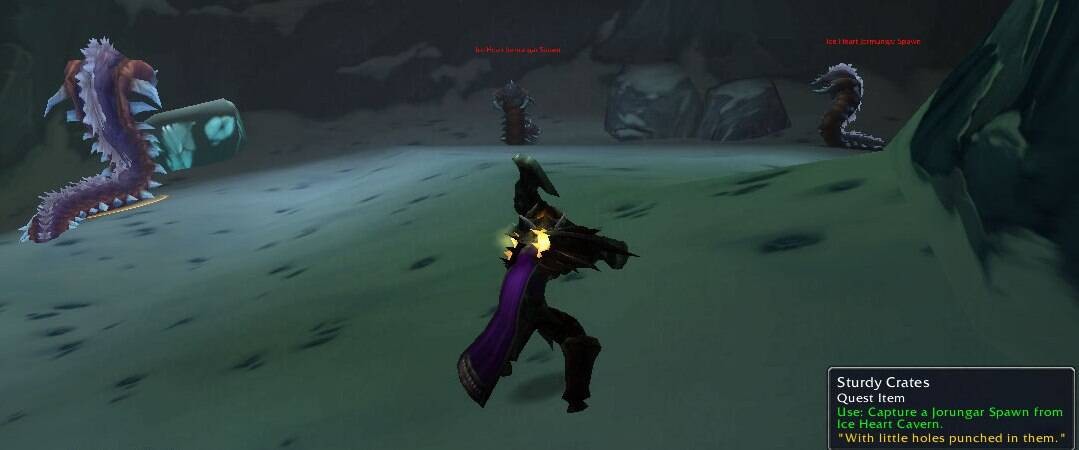
  • Clear the Ice Heart Jormungar Feeders and Spawns on the path to Rattlebore. She is in a larger chamber at the very back of the cavern. Clear the small worms surrounding her before pulling.


The Fight

  • Rattlebore is a level 74 elite with approximately 71,000-100,000 HP (reports vary). She hits hard on plate (1,000-2,000 per swing) and applies dangerous debuffs:
    • Powerful Bite: Reduces armor.
    • Corroded Mind: Nature damage hit (~1,100) that also reduces your damage dealt.
    • Corrosive Spit: The standard jormungar acid debuff (mitigated by Zort’s Protective Elixir).
  • Immunities: Immune to sleep, fear, slowing, snares, and roots. You cannot CC her.


Strategy Options

With a Group (Recommended)

  • The quest suggests 3 players. A tank + healer, or even two DPS with self-healing, makes this straightforward. Clear adds, burn her down.


Solo: Tank and Spank

  • Viable for self-healing tanks: Blood Death Knights, Protection Paladins, Protection Warriors, and Feral Druids all report success in the 74-77 range with reasonable gear.
  • Rotate defensive cooldowns throughout the fight. She hits hard enough that you will need them.
  • Death Knights: Death Strike spam is your lifeline. Pop Icebound Fortitude early (it should come off cooldown again before the fight ends). Use your ghoul for emergency Death Pact healing.
  • Paladins: Seal of Wisdom for mana sustain, Judgement of Light for passive healing, and stagger your big cooldowns (Lay on Hands, Divine Shield, Avenging Wrath) across the fight rather than blowing them all at once.


Solo: DoT and Kite

  • Despite her immunity to slows and snares, Rattlebore moves slower than 100% run speed (estimated 80-90%). You can outrun her at normal speed, and any speed boost makes it trivial.
  • Clear the entire path from Rattlebore’s chamber back to the cave entrance before pulling. Respawns on the way out are deadly.
  • Apply instant-cast DoTs (Shadow Word: Pain, Devouring Plague, Moonfire, Insect Swarm, Corruption) and run. Reapply DoTs as needed. Refresh at least one spell every 8-9 seconds or she will reset.
  • Shadow Priests, Balance Druids, and Warlocks excel at this. You can kite her from the back of the cave all the way out to the entrance.
  • If she stops to cast Corrosive Spit, turn and get a cast-time spell off before resuming the run.


Solo: Pet Tanking

  • Hunters: Use a tenacity pet (Gorilla, Bear). Keep Mend Pet running constantly. Use Misdirection to your pet early. When your pet gets low, Distracting Shot to yourself and kite briefly while Mend Pet ticks, then send the pet back in.
  • Warlocks: Voidwalker recommended over Felguard for its higher armor, though Felguard works too. Health Funnel your pet through the fight while keeping DoTs rolling.


Efficiency Tips

  • If you still need Worm Wrangler, grab your Jormungar Spawn on the way in while clearing the path.
  • Players who completed Stomping Grounds alongside Worm Wrangler should already know the cavern layout. Rattlebore is deeper in, past where the feeders are.
  • Upon completion, Ko’char directs you toward Crystalsong Forest to the north. This effectively ends the Crystal Vice quest hub.


Lore & Secrets

The Crystal Vice Conflict

The Crystal Vice is a glacial canyon in northern Dragonblight where frost giants led by Ko’char are locked in a territorial war with jormungar worms.

The goblins of Nozzlerust Post (Zort and his brother Narf) tried to broker an alliance with the giants for their own purposes, but Ko’char refused. Killing Rattlebore resolves the jormungar threat, though Ko’char’s farewell makes it clear he still doesn’t trust Zort: “Your intentions do indeed prove nobler than those of the runt.”


Rattlebore’s Name

  • Ko’char says Rattlebore was named “by an adventurer from the Plaguelands.” The name is a clear nod to Rattlegore, the bone golem boss in Scholomance, located in the Western Plaguelands. Some sources also connect the name to Borelgore, a giant maggot mob found in the Eastern Plaguelands.


Explore Dragonblight’s hidden easter eggs, lore mysteries, and connections across Warcraft history in Vikstone’s Dragonblight Chronicles, along with the complete quest storyline.

Upon completion of this quest you will gain:
20,500 experience
250 reputation with Valiance Expedition

Warrior IconVikstone's War Journal

“The jormungar have a spawnmother in the caverns below,” Ko’char said. “We call her Rattlebore, a name gifted to her by an adventurer from the Plaguelands. I saw her only briefly as I was fighting off their initial onslaught. She is large enough to make even my icy bones shiver.”

From a frost giant, that meant something.

Vikstone Portrait Act 1
Illustrated by Christian DiBari and Simon Gough.

“This cavern will not be ours until she is removed from it. Gather your friends and end this.”

Aswin was the one who answered the call. A human warrior who looked at the cave mouth and shrugged like he’d seen worse.

Zort’s Protective Elixir burned going down, spreading warmth through my limbs. Protection against acid. We’d need it.

Rattlebore waited in the deepest chamber, coiled around her brood. Her hide was thick as castle walls, her maw wide enough to swallow a horse whole.

She struck fast and her acid sprayed in arcs that would have eaten through steel. The elixir held. I drove into her flank while Aswin drew her attention head-on, planting himself in front of that gaping maw. We fell into the rhythm that two warriors find when neither needs to explain the work. Cut, dodge, cut again. She thrashed, coiled, snapped at empty air. Aswin caught a tail whip that sent him into the cavern wall. He stood back up, spat blood, and charged in again without a word.

It took time but she fell.

“So she is dead,” Ko’char said, nodding. “As it should be. Your intentions do indeed prove nobler than those of the runt.” He gestured north. “Through the north canyon you will find Crystalsong Woods. It is a cursed and dangerous place, night elf. Should that be your next destination, proceed with caution.”

He held out a gift. “Take this for your efforts, little one, and leave this conflicted land with my blessing.”


Before Crystalsong there is a different summons entirely in The Call of the Crusade.

Share

Share this:

The Making of the Guide

Solo PvP Guide

The Guide to SWGEmu

>